Complete Setup Guide
This guide will walk you through the whole process of installing Gametron and creating your first game server. If you are completely new to Gametron, this guide is for you.
This guide consists of:
- Installing the master
- Installing one slave
- Connecting the slave to the master
- Creating a Minecraft server on the slave
Since this is a complete guide that goes through every single step of the whole installation and setup process, it may seem rather long. However, installation should not take more than 15 minutes when following this guide.
This guide covers one simple and common way to install the master and slave on a newly installed Ubuntu 20.04 server. For more information and alternative ways to install the master, have a look at the master installation and slave installation documentation. Before starting with this guide, you should review both of these installation documentations, especially their pre-requirements to make sure your server(s) meet the system requirements.
Installing the master
The first step is to install Gametron master, the panel you can access using your web browser to manage your slaves, game servers and more.
You should start by pointing a hostname/subdomain to the Ubuntu server on which you want to run the master. This process varies depending on how your DNS records are managed. In any case, you will need to create either an A or CNAME record that points to the public IP address of your server. You can find an example of a correctly configured A record below.

Before continuing the installation process, make sure the DNS record has propagated (the hostname/subdomain successfully “redirects” traffic to the IP address of your server).
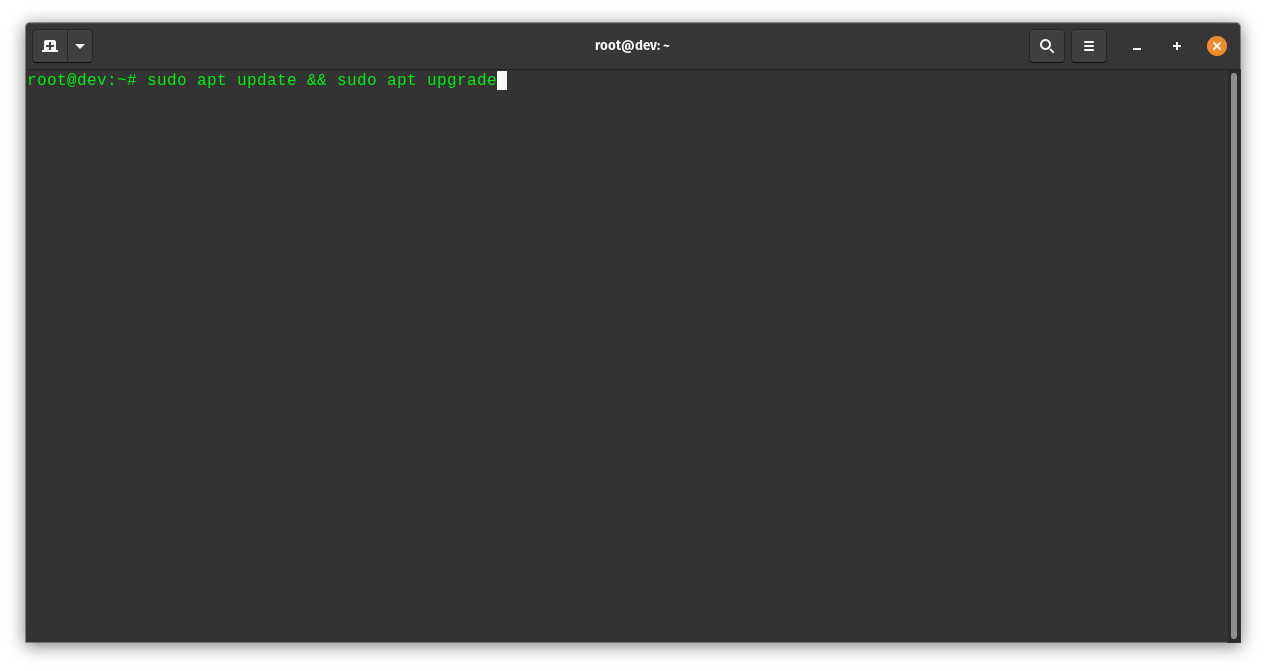
When the DNS record has propagated, you can continue with the actual installation process. To get started log in to your Ubuntu server via SSH and make sure all packages on the server are up to date.
sudo apt update && sudo apt upgrade
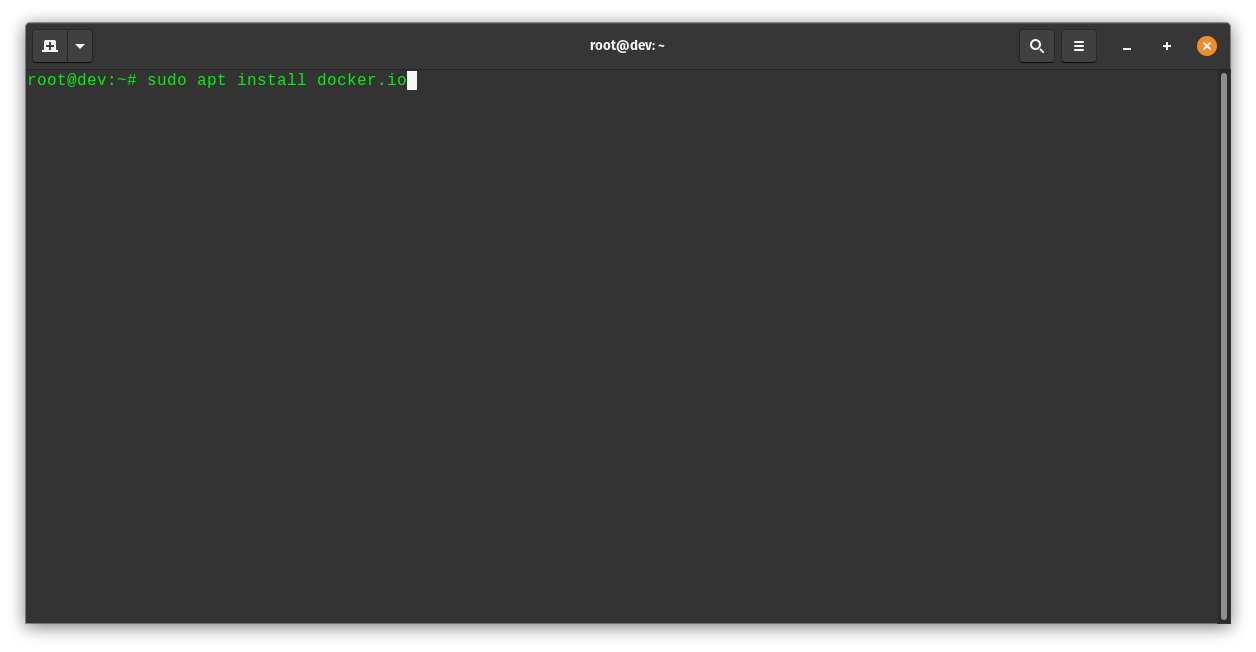
Next, you should install Docker if it’s not already installed on your server.
sudo apt install docker.io
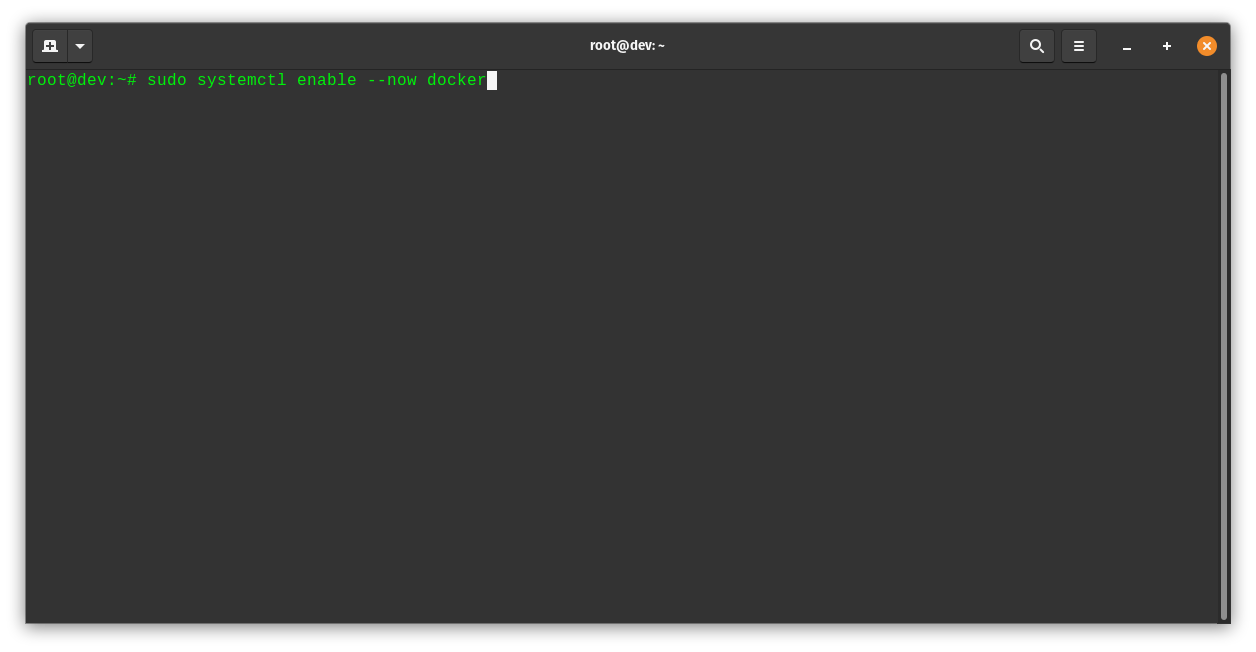
After Docker is installed, make sure it’s running and started when your server is rebooted.
sudo systemctl enable --now docker
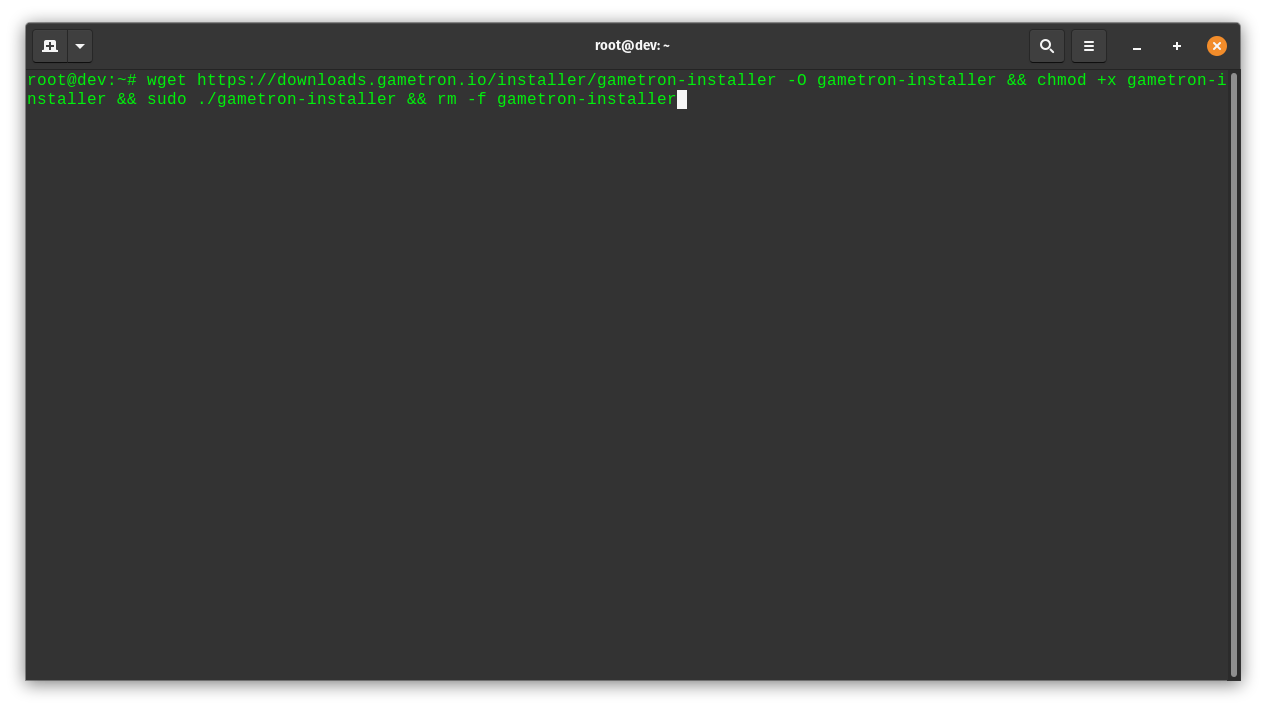
When Docker is up and running, it’s time to run the installer.
Make sure no web server is listening on port 80 during installation. An SSL certificate will be generated by Let’s Encrypt during installation and Let’s Encrypt is unable to issue a certificate for your server if port 80 is occupied.
wget https://downloads.gametron.io/installer/gametron-installer -O gametron-installer && chmod +x gametron-installer && sudo ./gametron-installer && rm -f gametron-installer
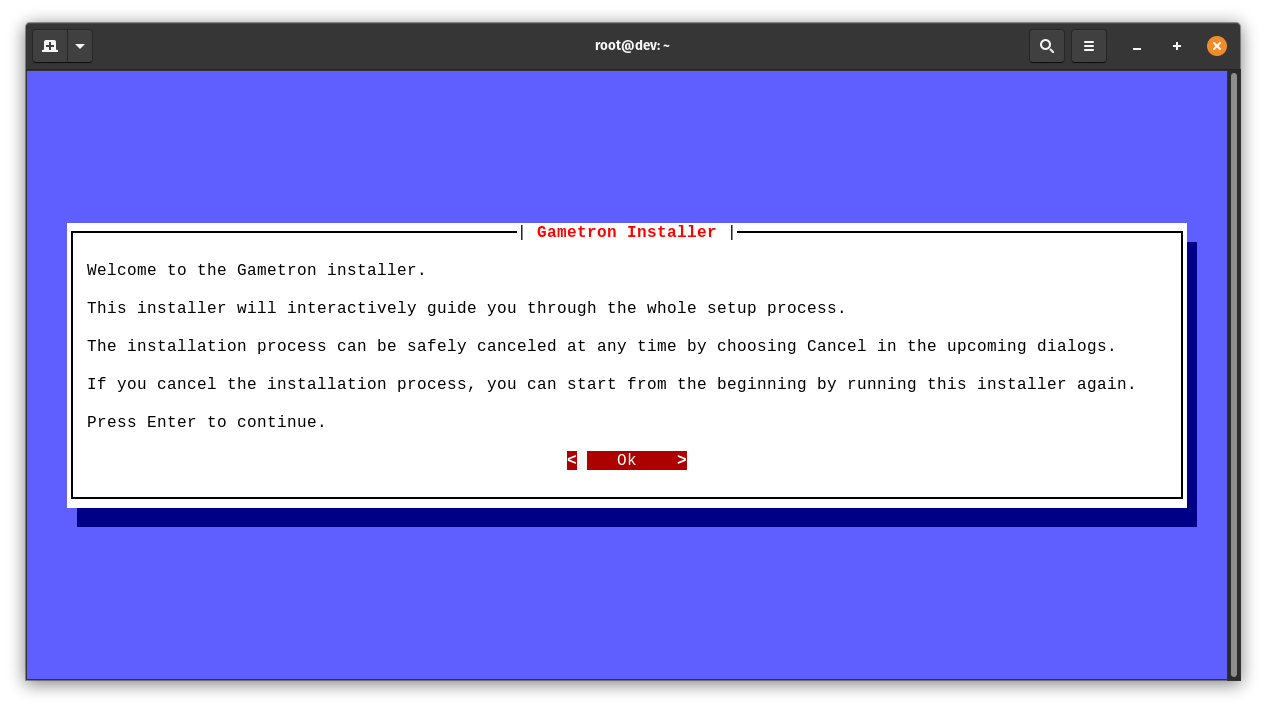
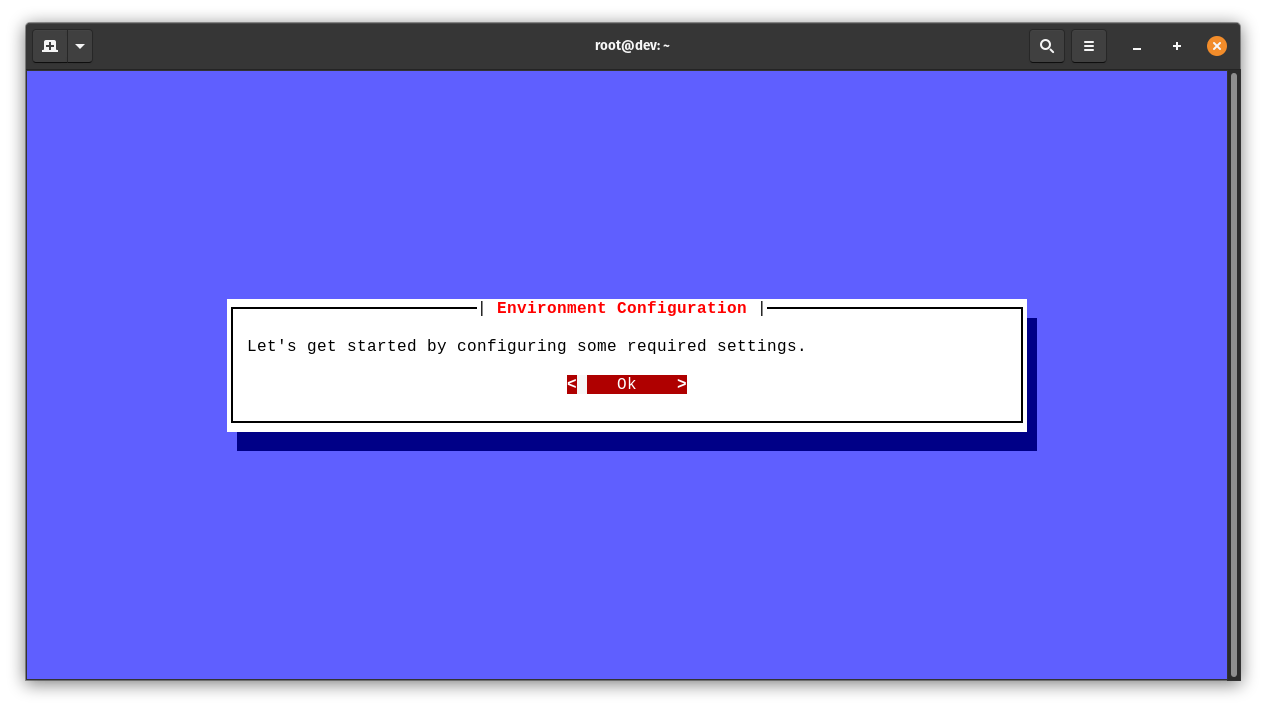
Once the installer has been downloaded and is running, you will be greeted by a welcome screen. Press Enter to continue (you may need to press Enter twice: once to highlight the Ok button, and once to select it).
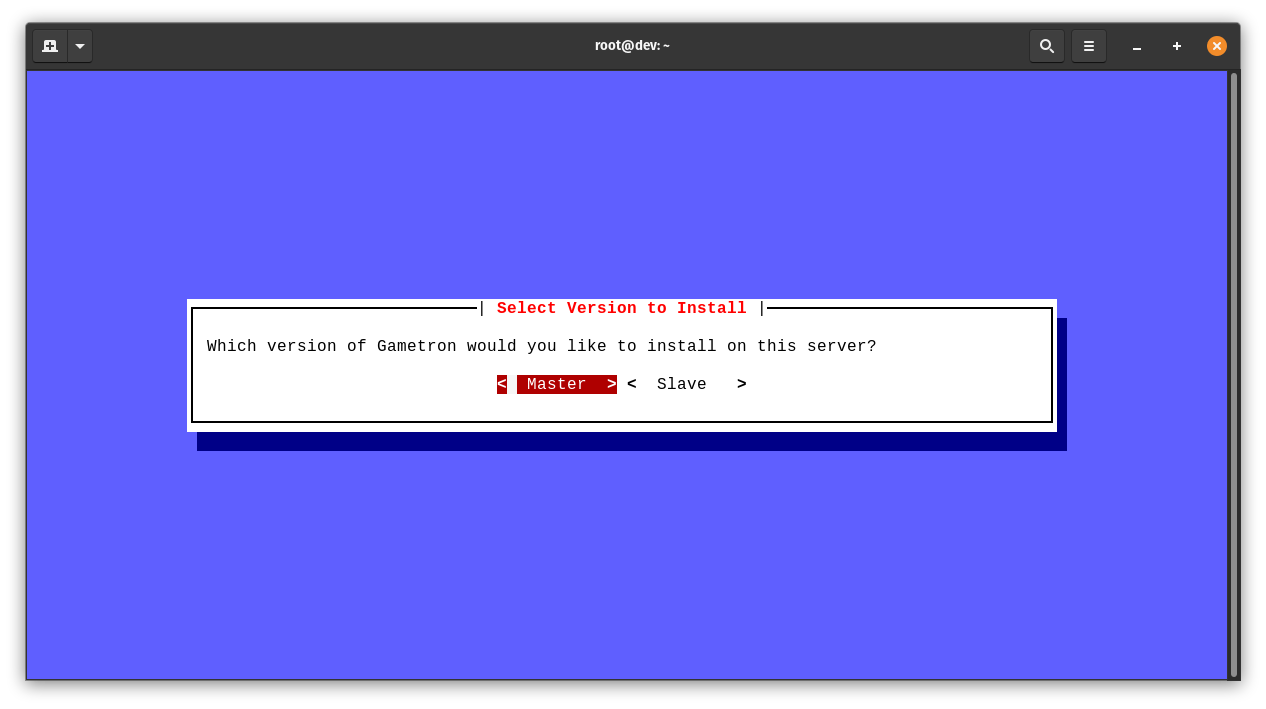
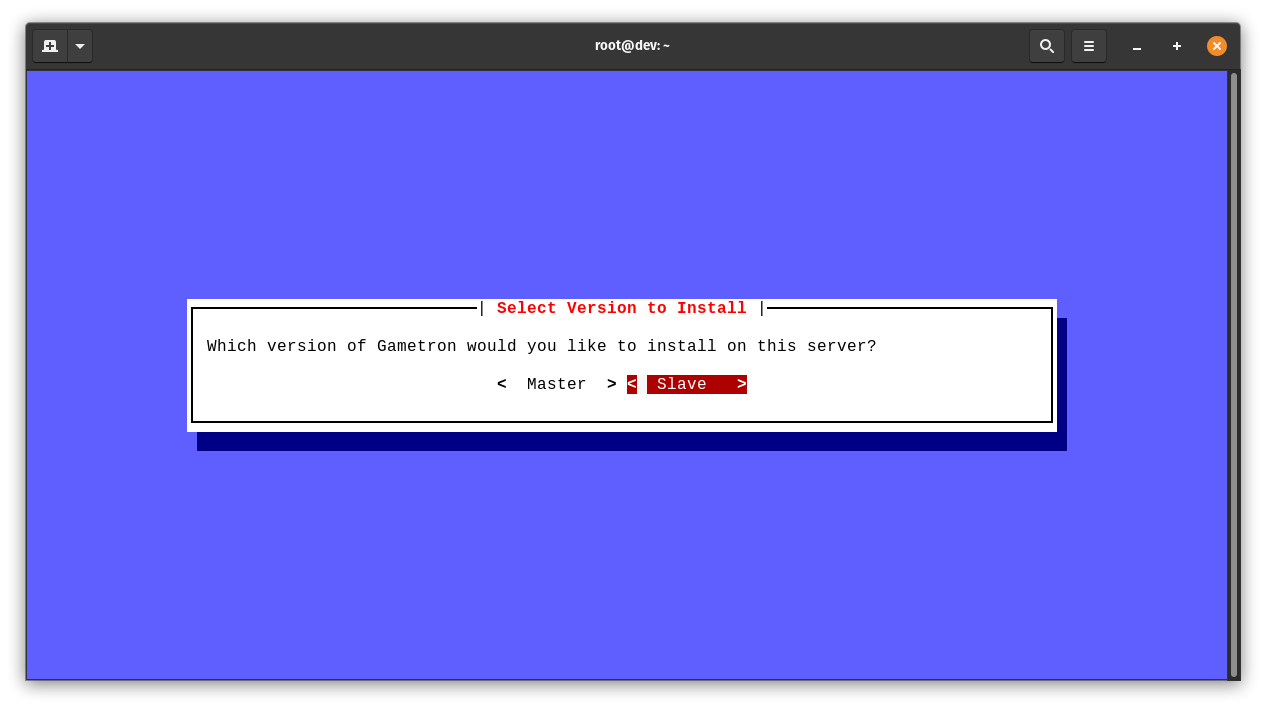
Next, you will be asked which version of Gametron you would like to install on this server. Choose Master and press Enter to continue.
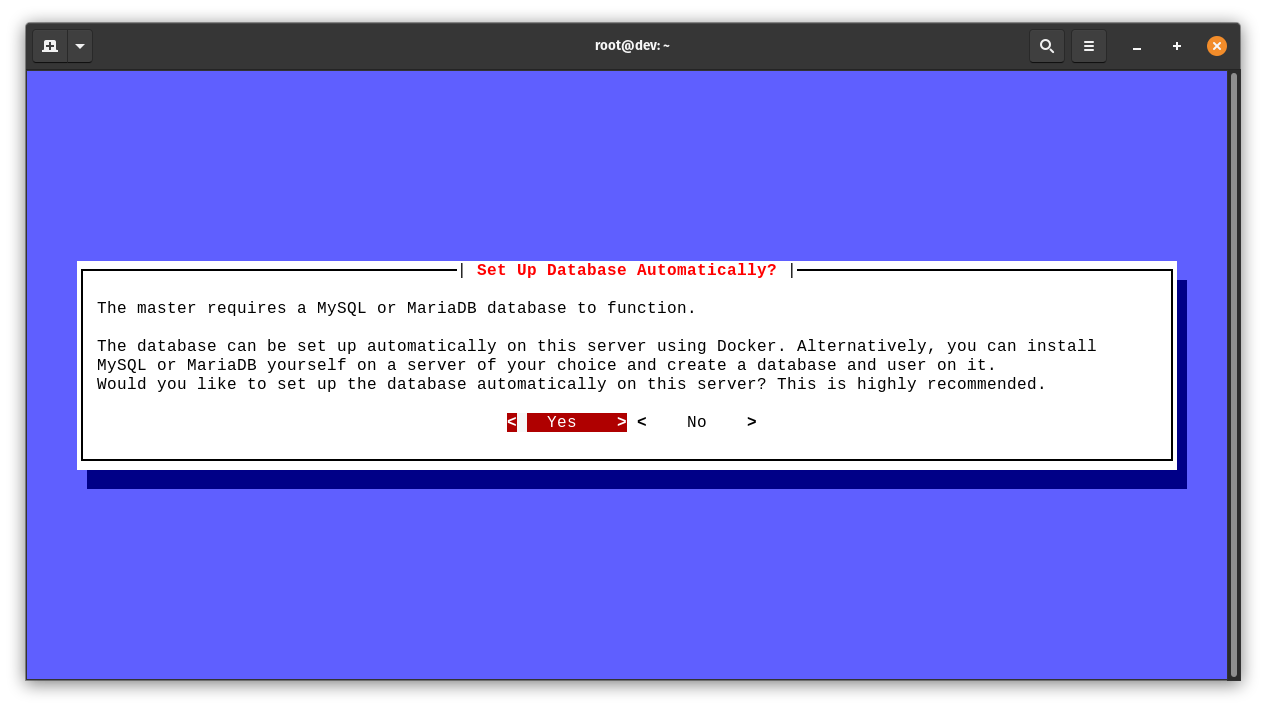
In the next step, you will be asked how you would like the database for the master to be hosted. In this tutorial, we’ll be choosing the automated installation. This will automatically install a MariaDB database for you on the same server and configure all required connection settings for you automatically.
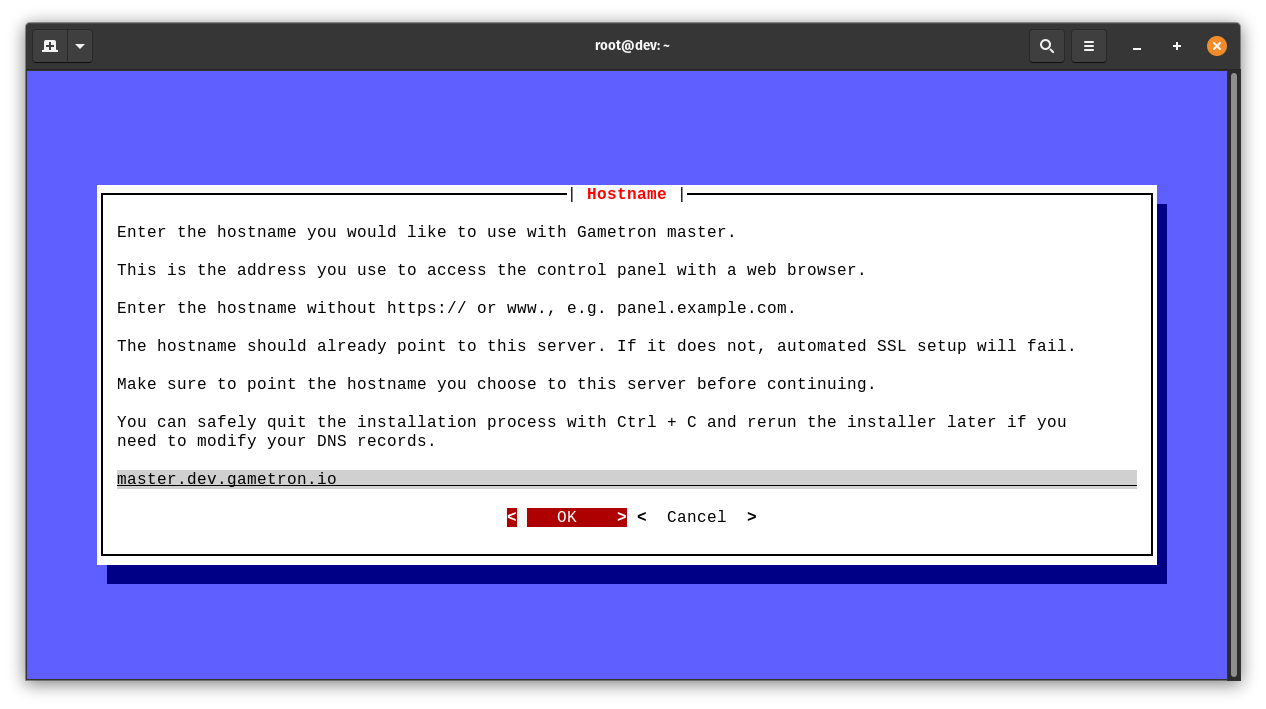
Next, you’ll be asked for the DNS hostname/subdomain that you would like to use when accessing the master with your web browser. Enter the hostname you created earlier.
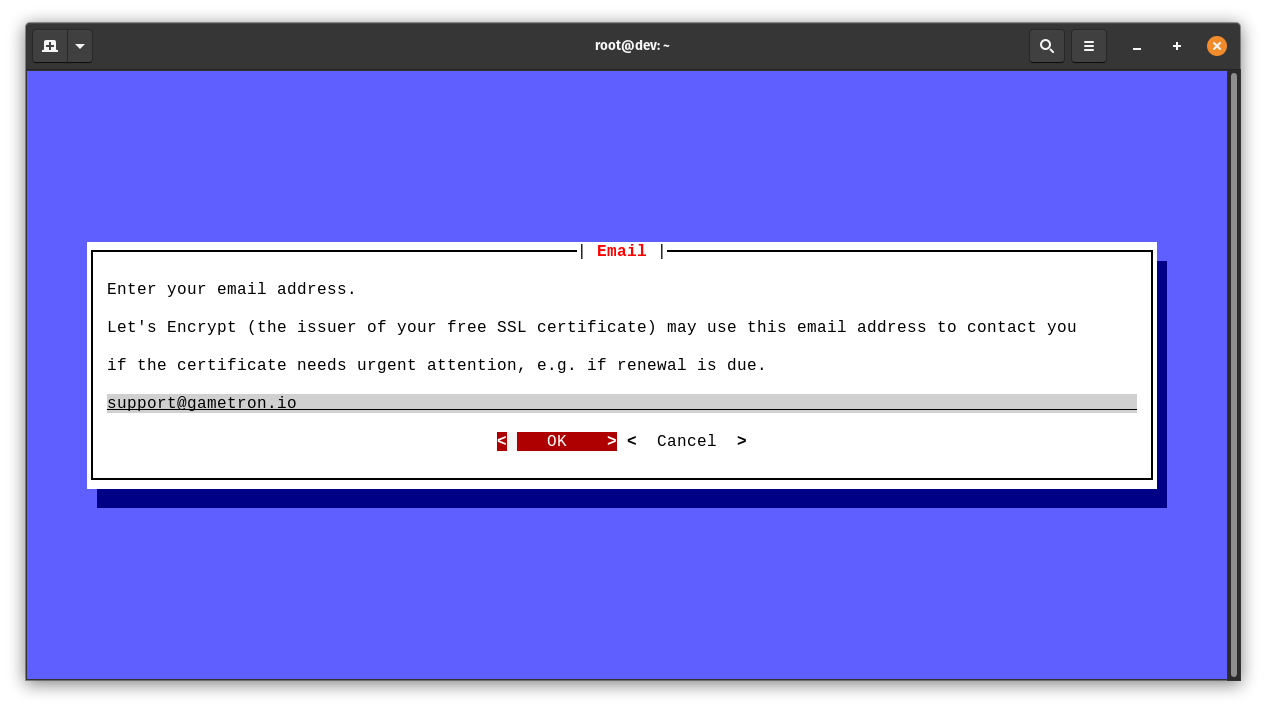
In the final question you will be asked to provide an administrative email that Let’s Encrypt will use to contact you in case there are issues with your automatically generated SSL certificate and when it should be renewed.
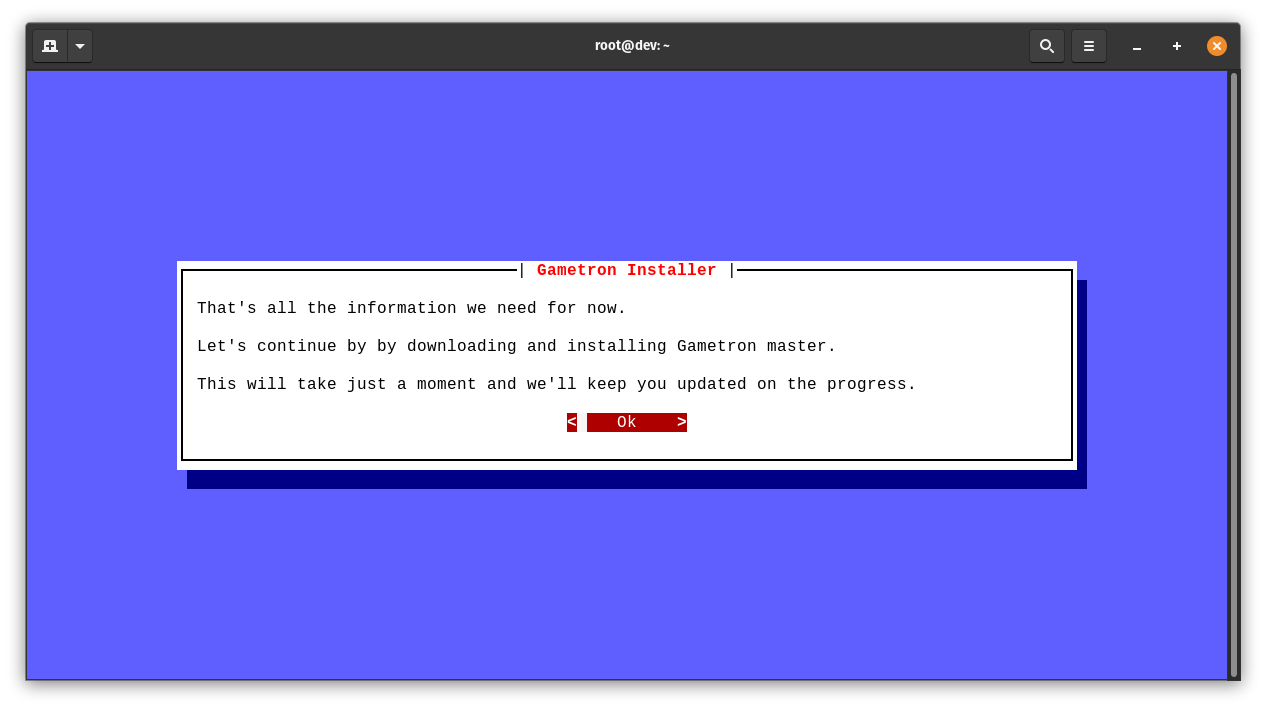
That was all the information the installer needs to continue. In the next step, the master and a database server will be downloaded, installed and configured automatically. This should take no more than a few minutes.
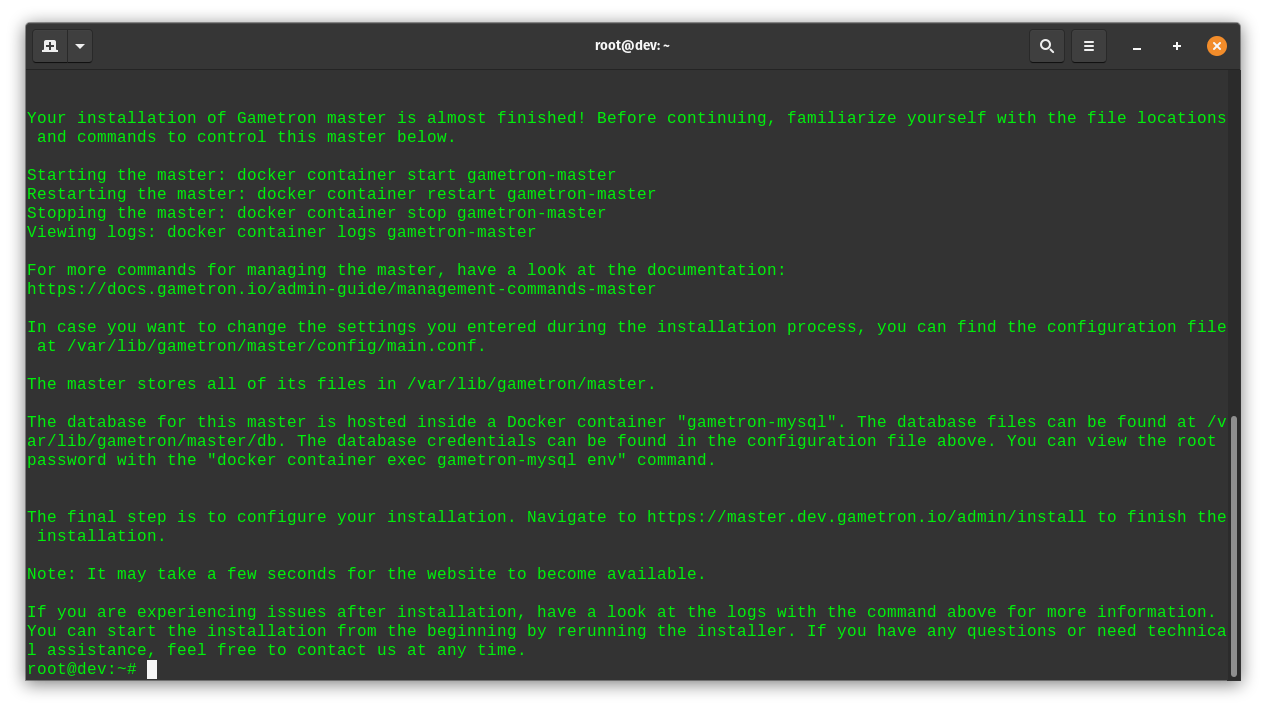
After a minute or two, you should see the following information. The last step is to finish the installation by by creating a user account. You can do so by opening the URL the installer gave you with your web browser.
It can take approximately 15 seconds for the page to become available. If the page does not load even after several minutes, the installation was possibly not successful. In this case, have a look at the instructions below.
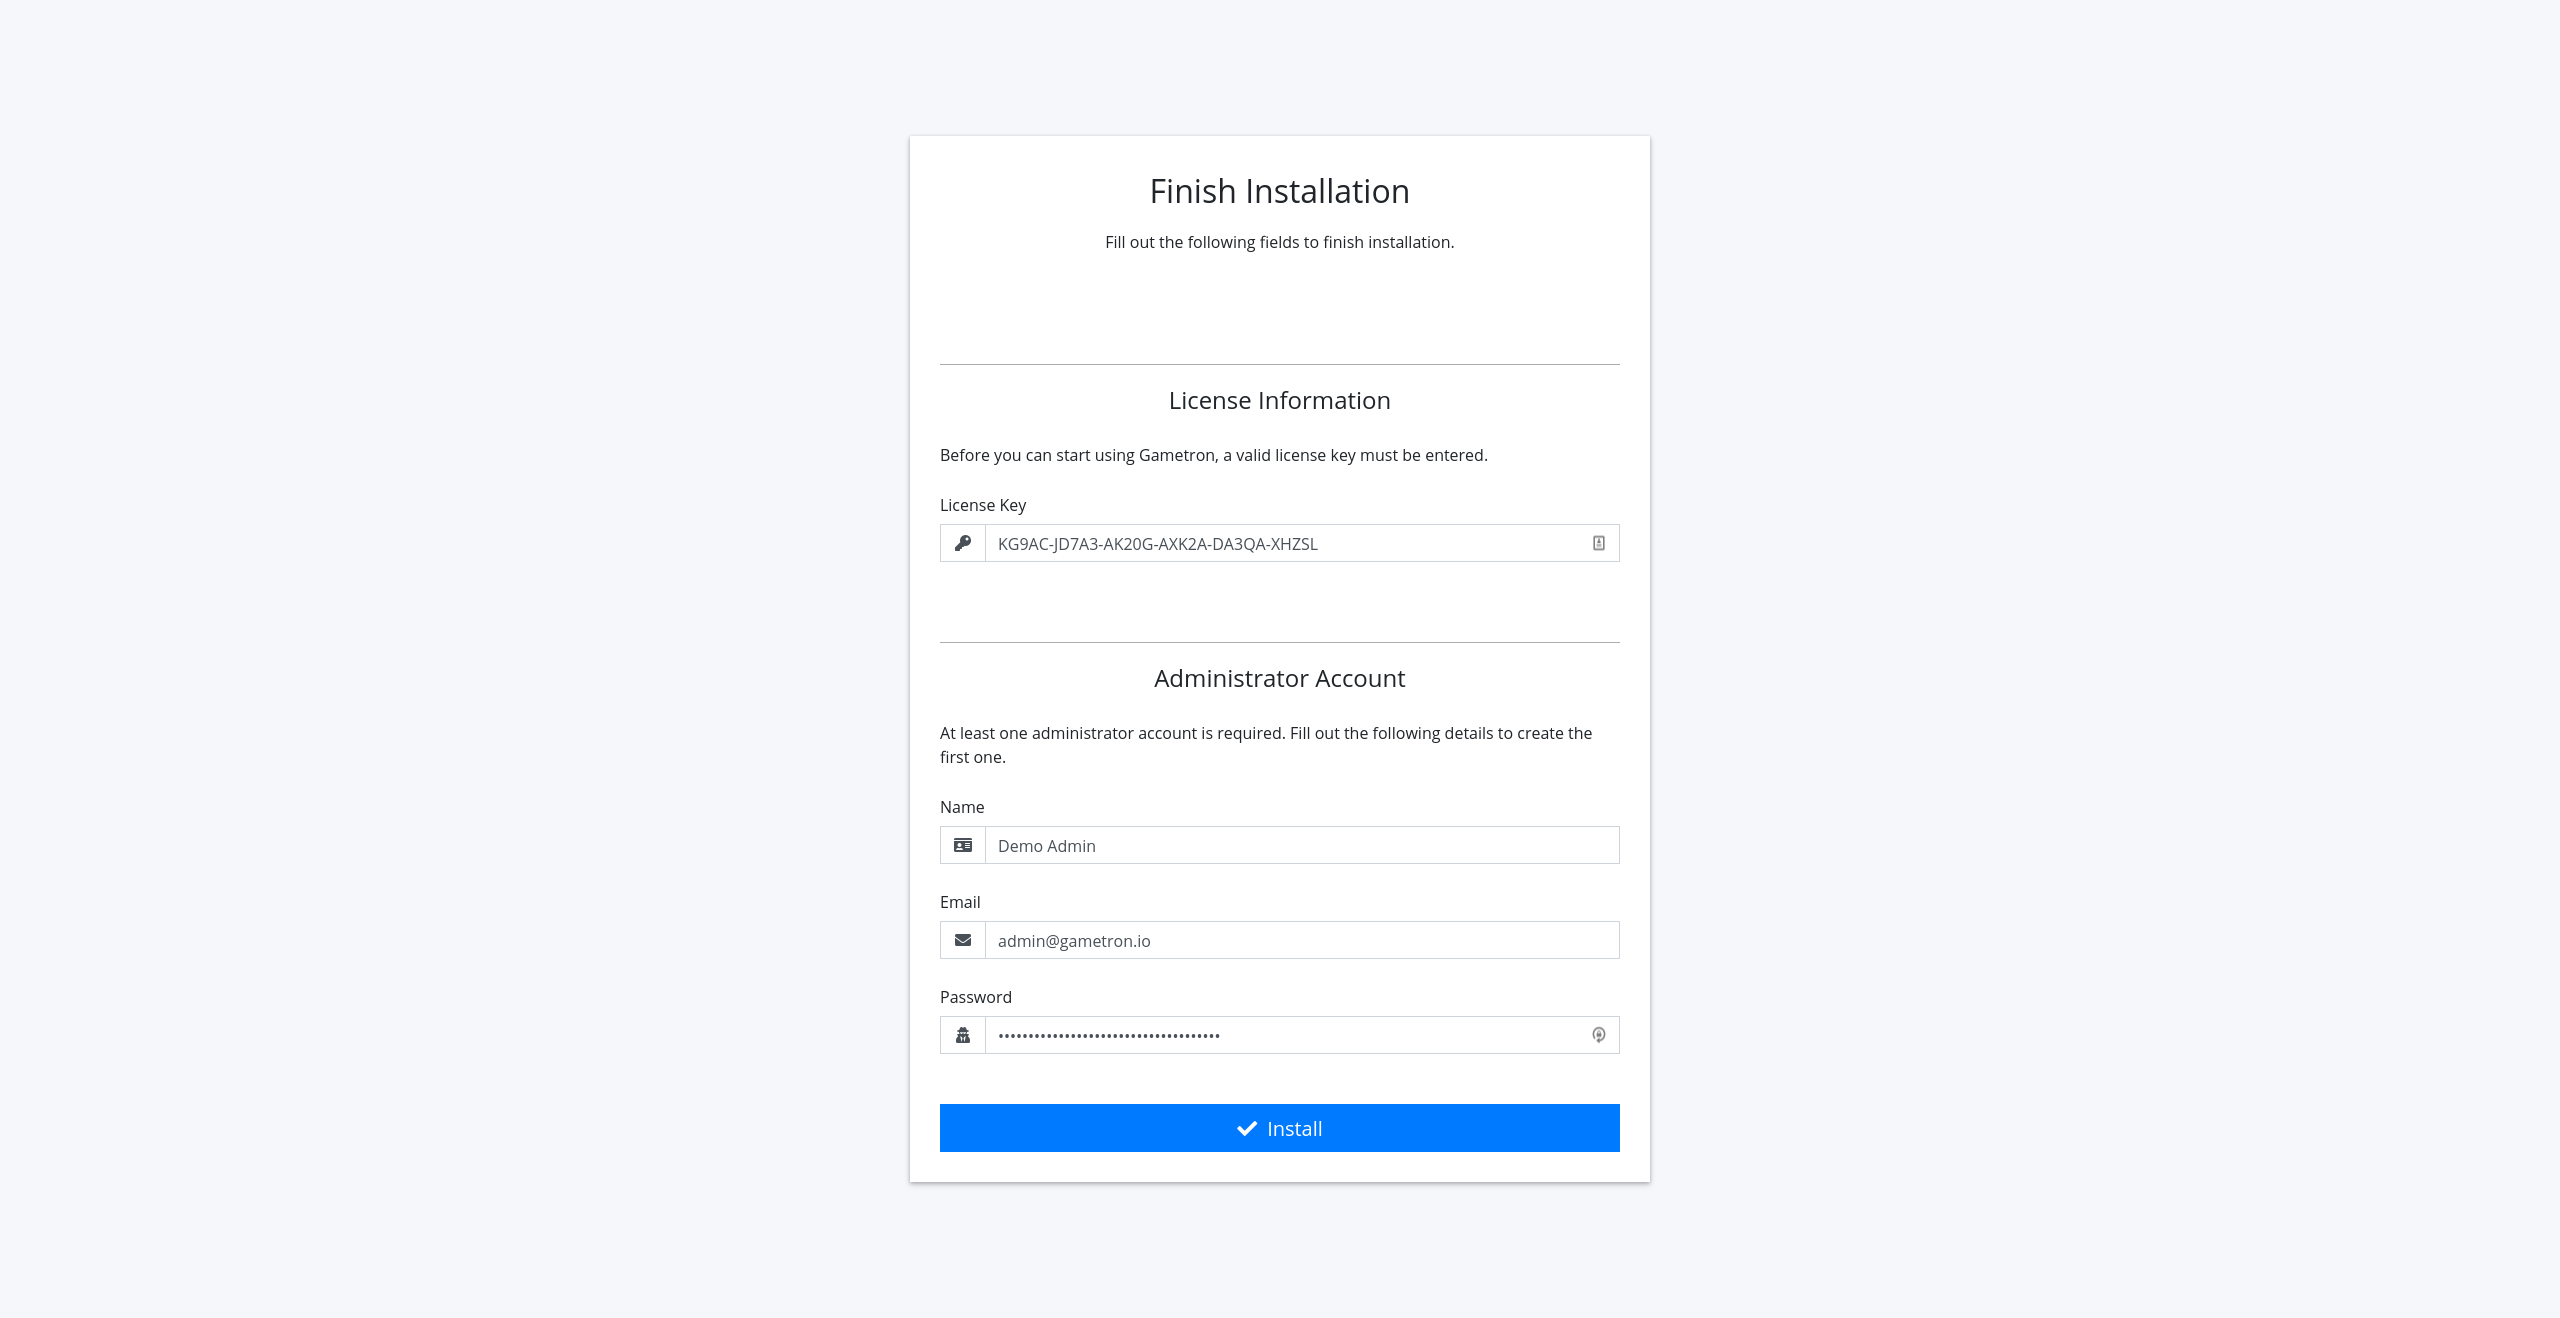
In the final installation step, you will be asked for a license key as well as details for the first admin account. Fill out the details and click Install.
You will now be automatically signed in to the admin account you created, and your Gametron master is now installed!
Installing a slave
You should start by pointing a hostname/subdomain to the Ubuntu server on which you want to run the slave. This process varies depending on how your DNS records are managed. In any case, you will need to create either an A or CNAME record that points to the public IP address of your server. You can find an example of a correctly configured A record below.

Before continuing the installation process, make sure the DNS record has propagated (the hostname/subdomain successfully “redirects” traffic to the IP address of your server).
When the DNS record has propagated, you can continue with the actual installation process.
To keep this guide as simple as possible, we will be installing the master and slave on the same server. Typically you may want to install them on separate servers to isolate it from game servers to make sure there are enough resources to keep the master running smoothly. Since the port 80 should be available when installing the master or slave, we’ll have to temporarily stop the master during the installation.
docker container stop gametron-master
To get started with the installation, download and run the installer.
wget https://downloads.gametron.io/installer/gametron-installer -O gametron-installer && chmod +x gametron-installer && sudo ./gametron-installer && rm -f gametron-installer
Once the installer has been downloaded and is running, you will be greeted by a welcome screen.
Next, you will be asked which version of Gametron you would like to install on this server. Choose Slave.
Next, you will be asked for some settings the installer needs to install the slave.
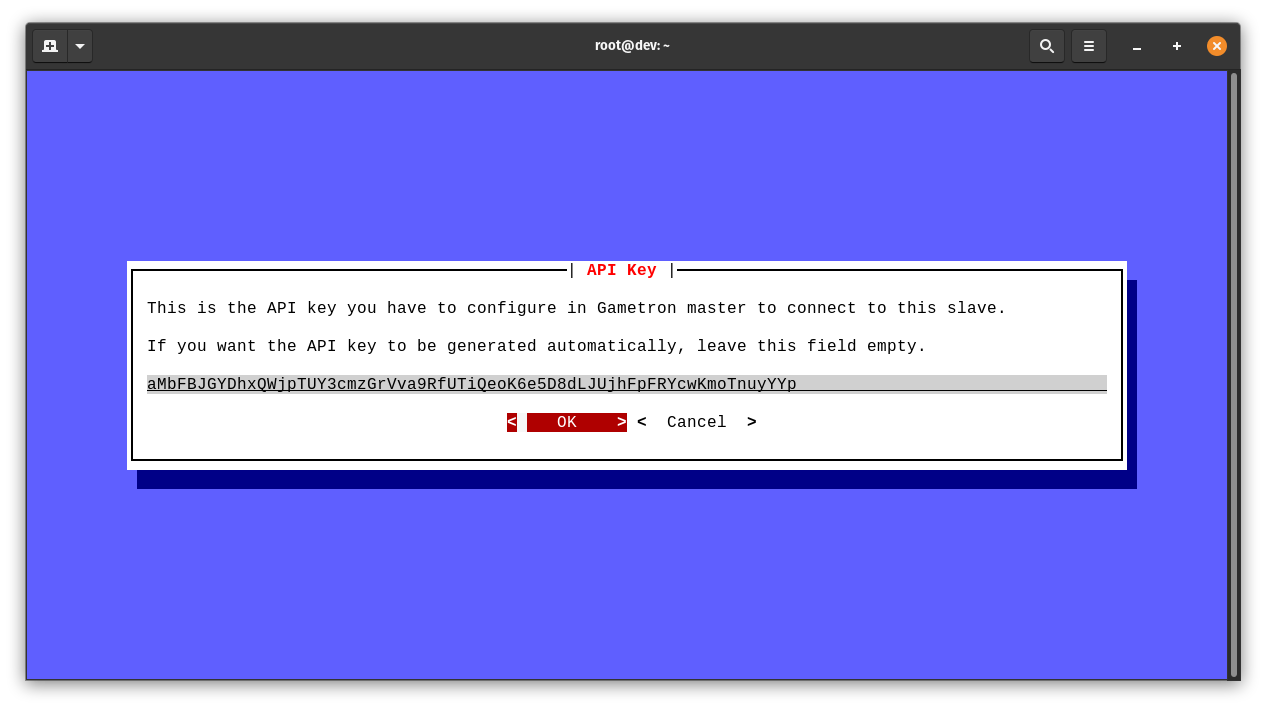
Each slave has its own API key that is used when the master communicates with the slave. In this step, you can choose your own API key or leave it empty to generate one automatically.
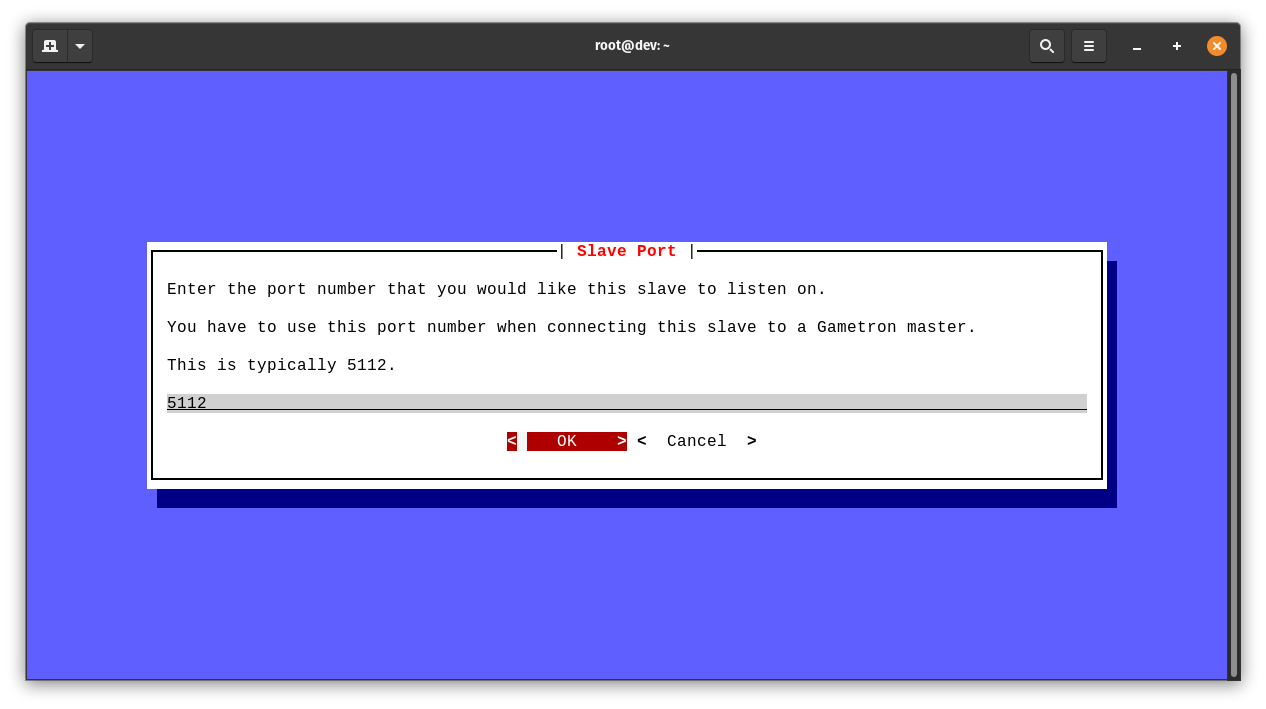
In the next step, you can choose which port the slave should listen on. Enter 5112 unless you have a reason to use something else.
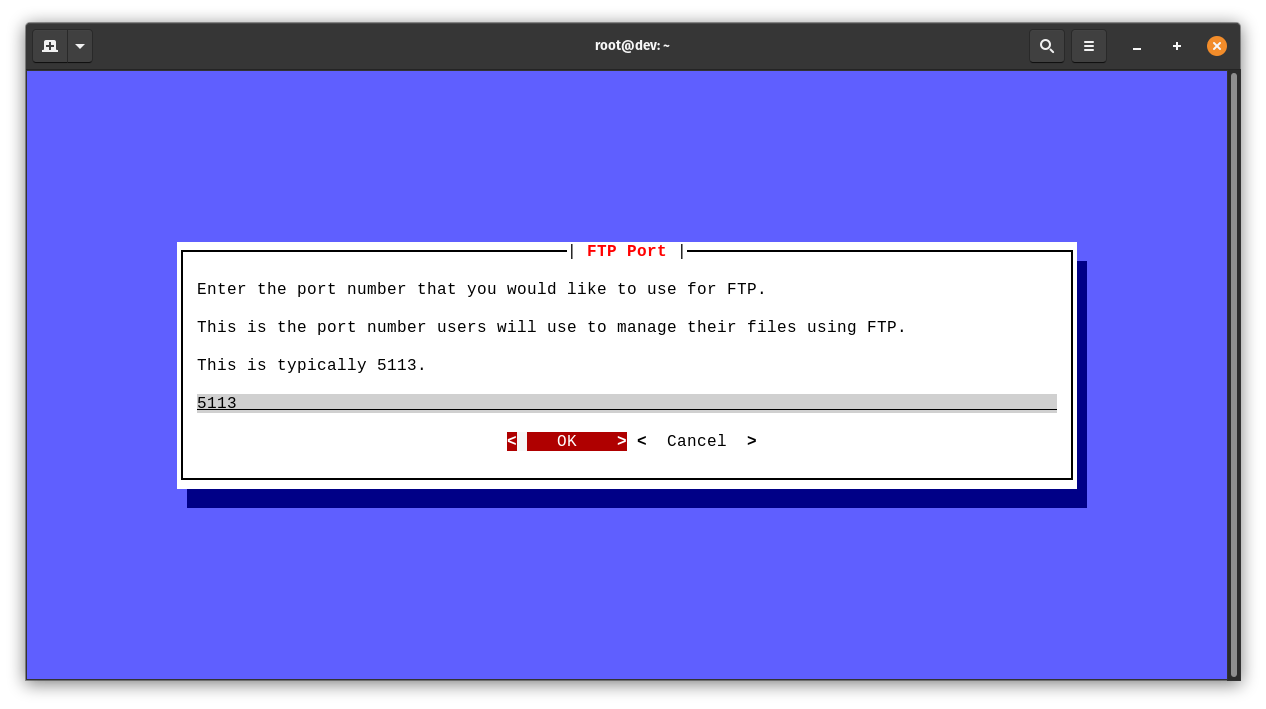
The next question is about FTP port. This is the port users use to connect to their servers via FTP. Enter 5113 unless you have a reason to use something else.
Next, you’ll be asked for the DNS hostname/subdomain that you would like to use when connecting this slave to the master. The master uses this hostname when it communicates with the slave. Enter the hostname you created earlier.

In the final question you will be asked to provide an administrative email that Let’s Encrypt will use to contact you in case there are issues with your automatically generated SSL certificate and when it should be renewed.
That was all the information the installer needs to continue. In the next step, the slave will be downloaded, installed and configured automatically. This should take no more than a few minutes.

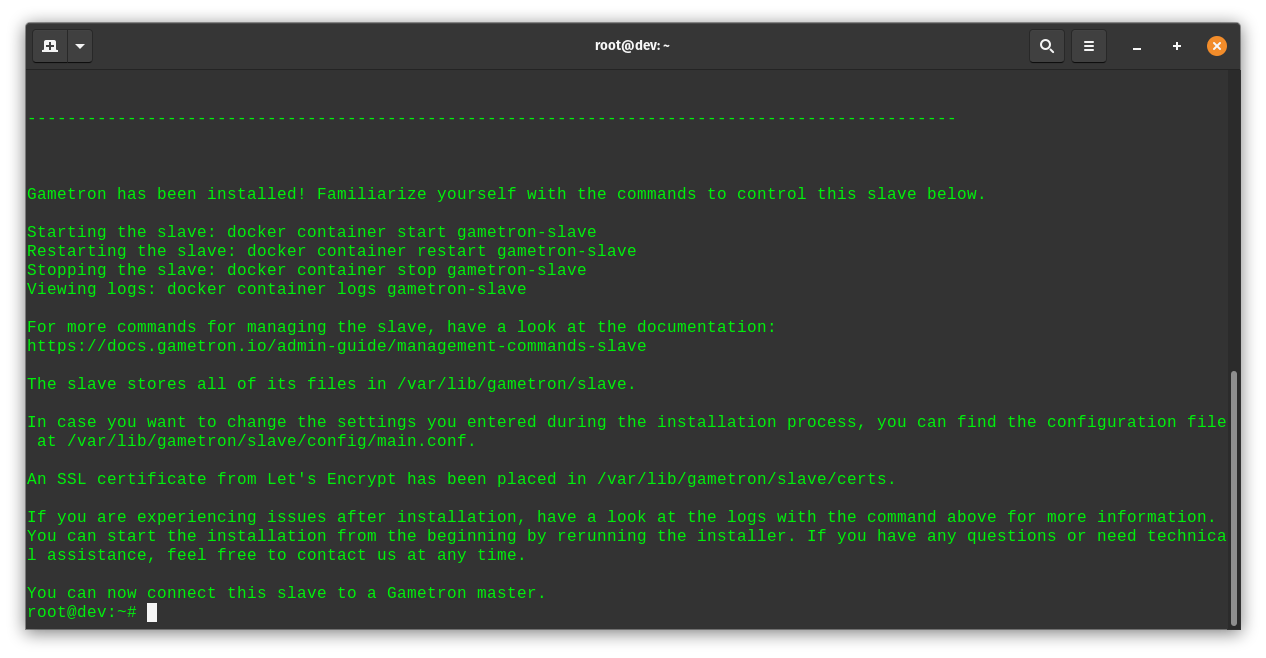
After a minute or two, you should see the following information. The slave is now installed!
At this point, you can start the master again if you stopped it earlier.
docker container start gametron-master
Connecting a slave to the master
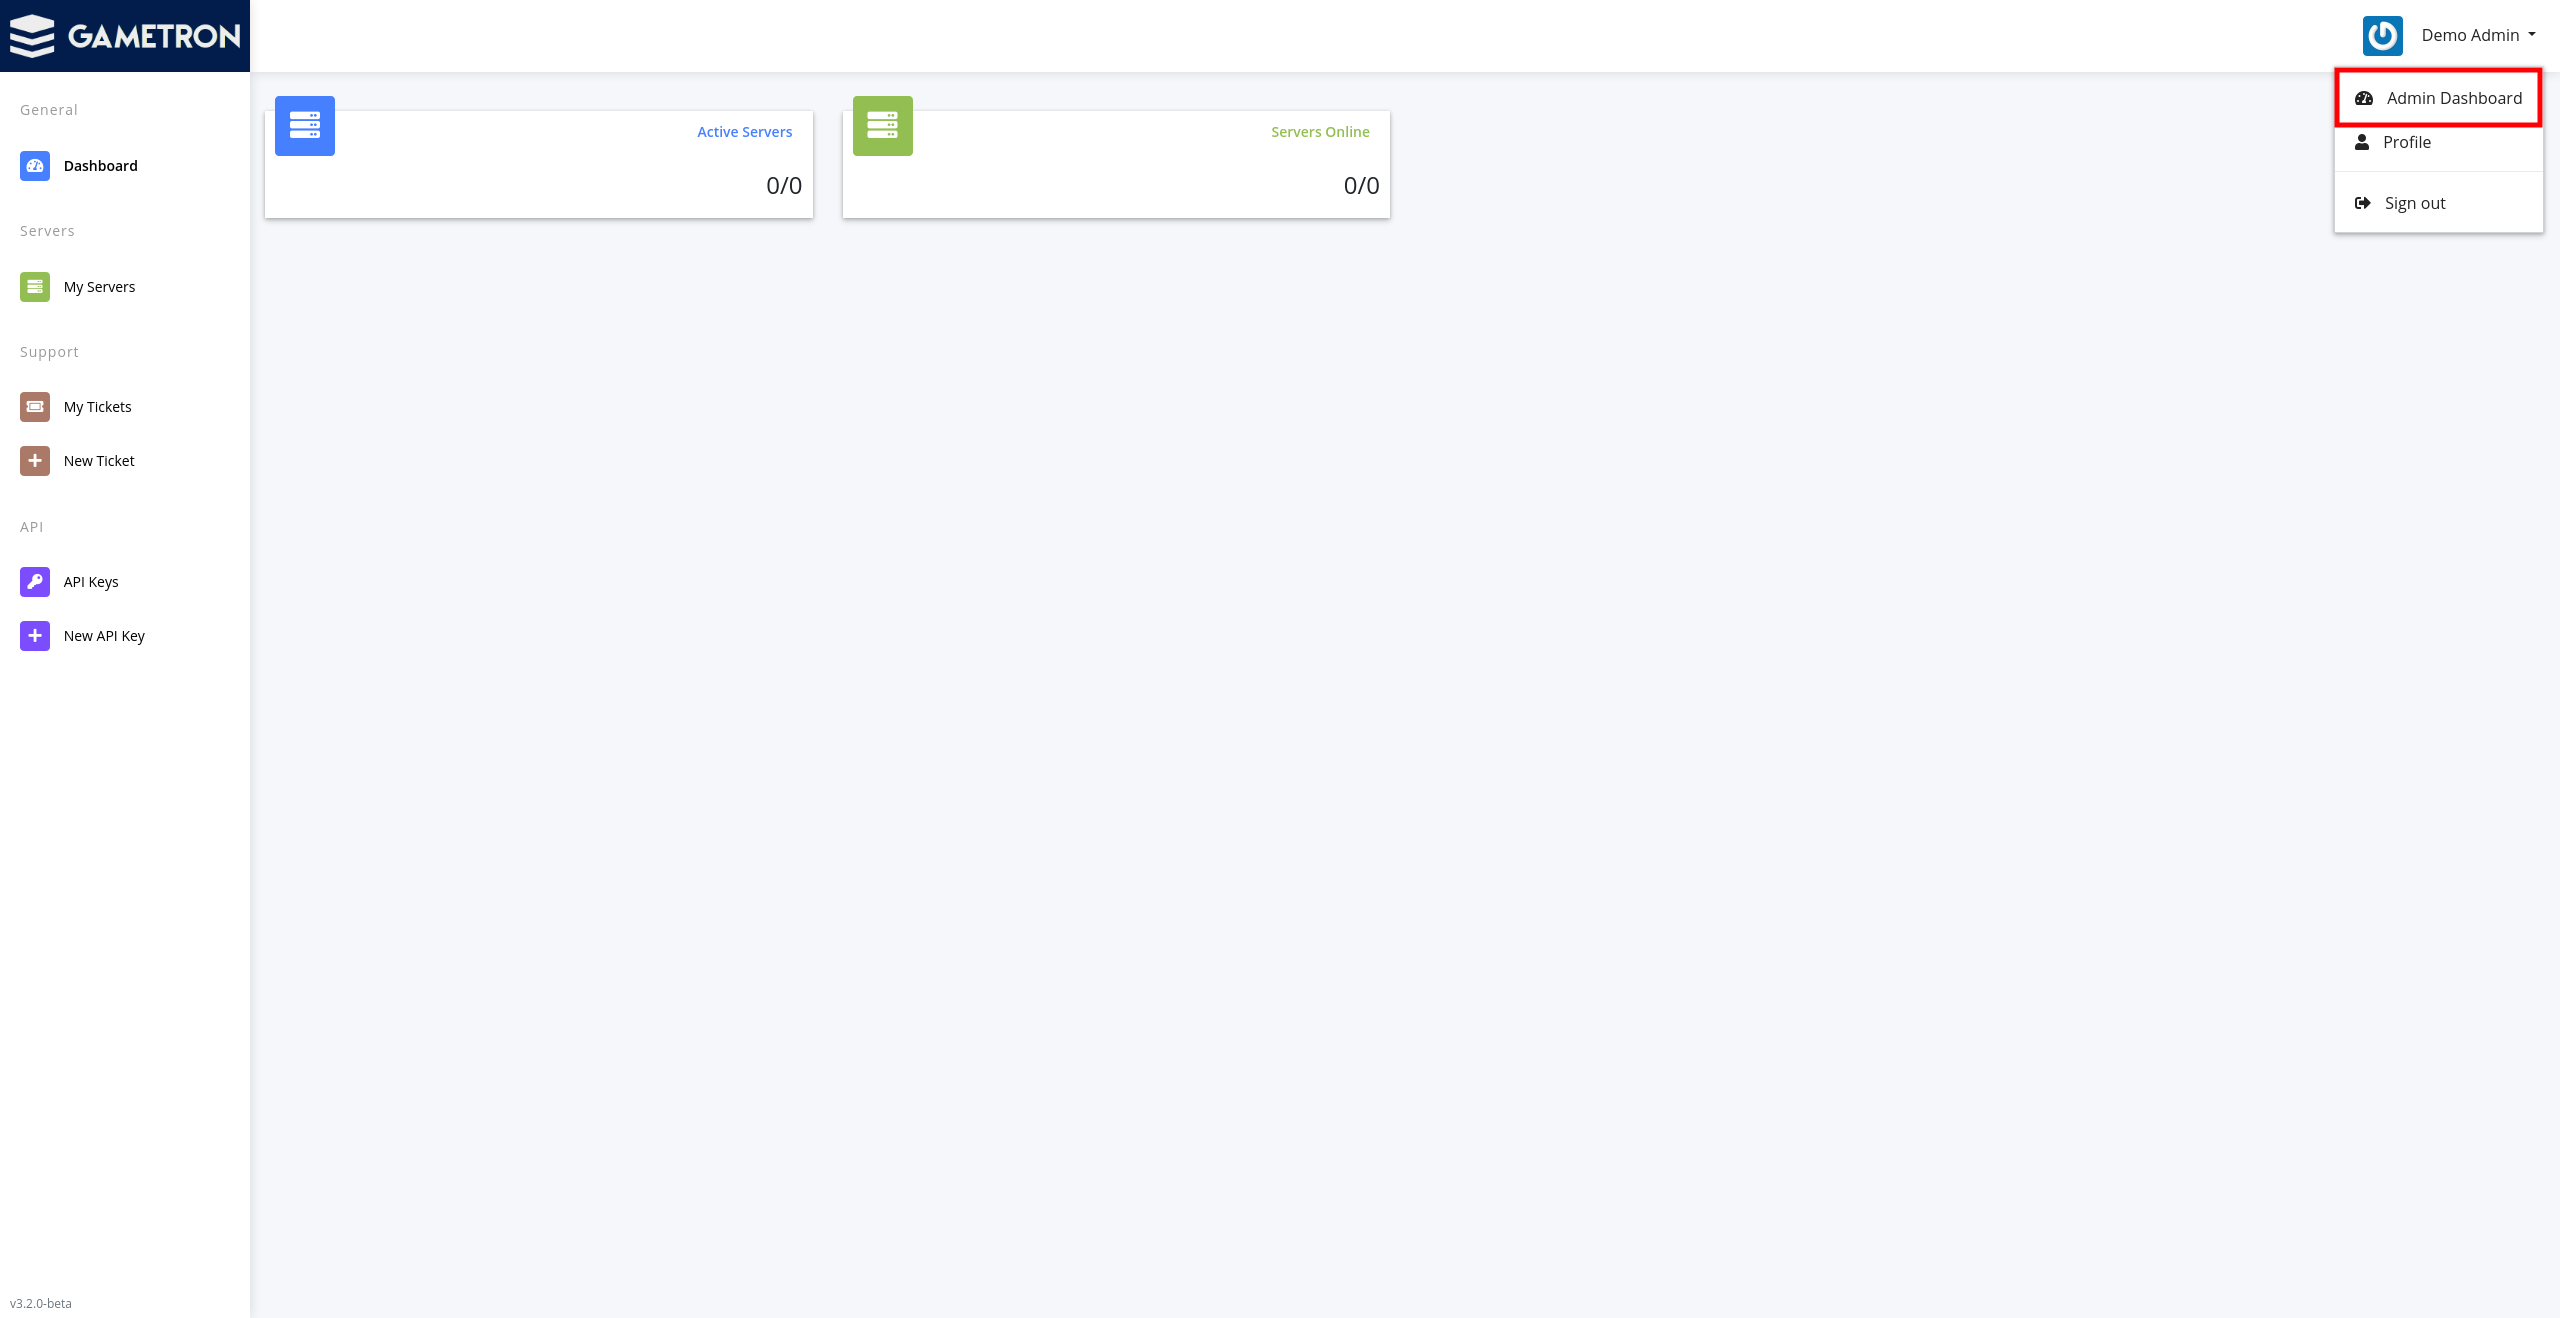
In this step, we’ll connect the newly installed slave to the master. To do this, open the master in your web browser and go to the admin area by clicking the Admin Dashboard link in the upper right corner.
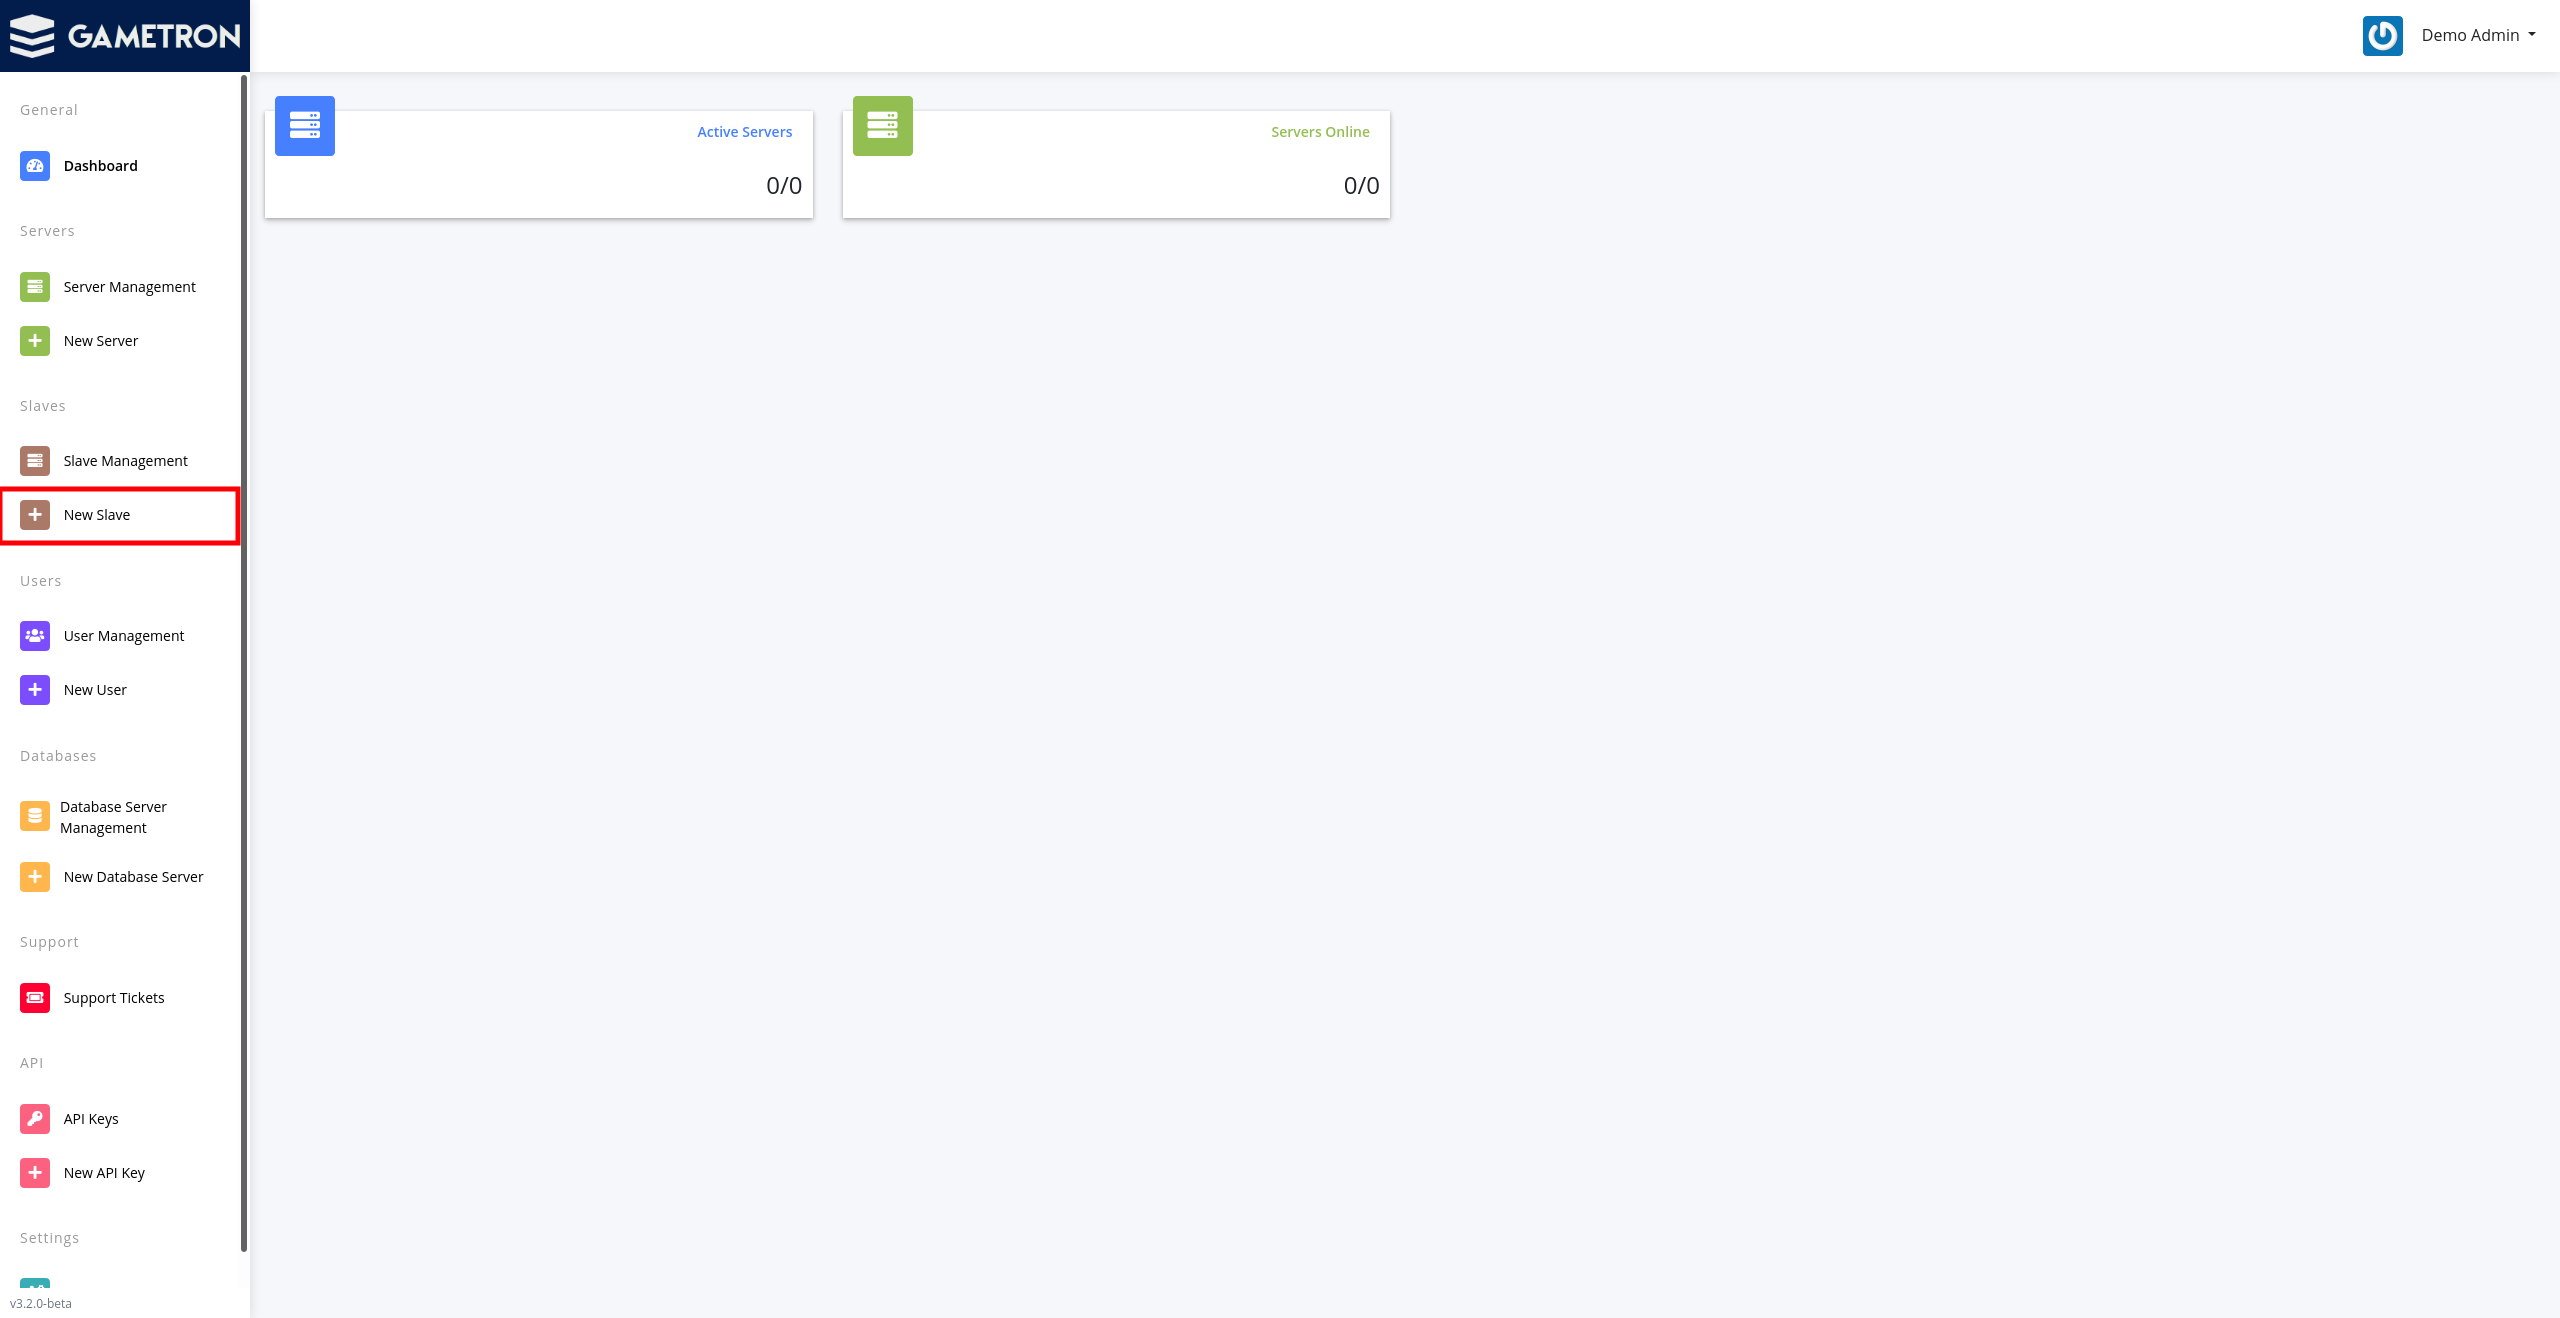
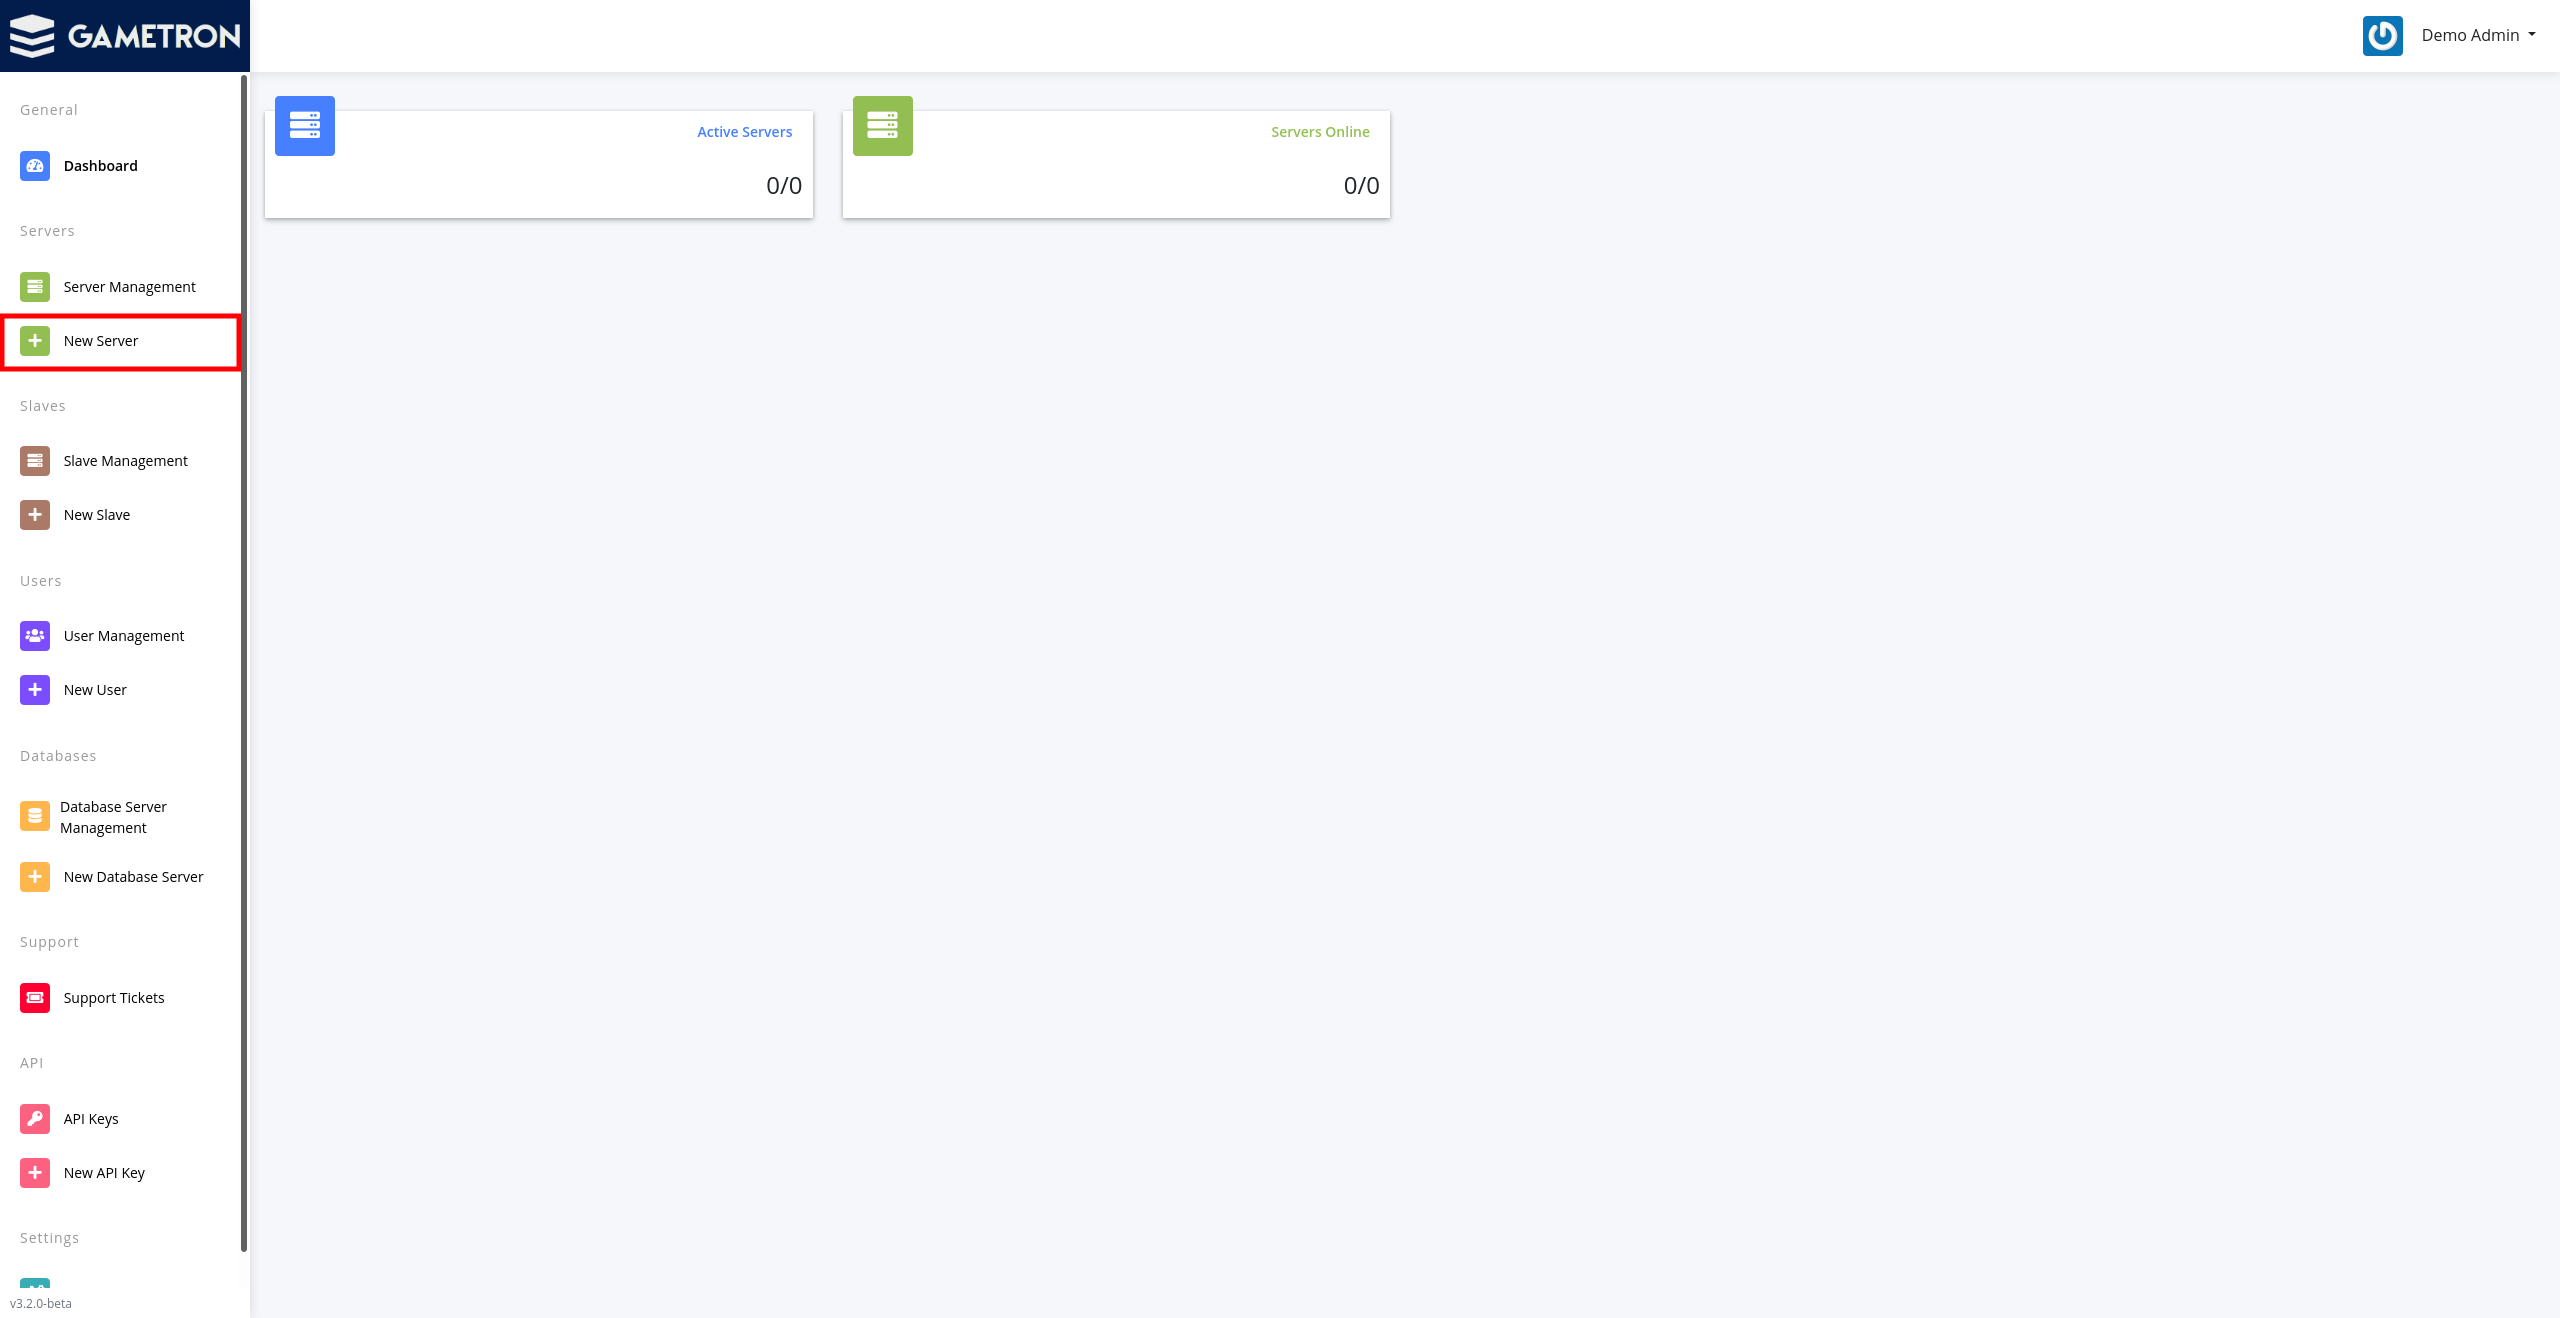
Next, go to the New Slave page.
Fill out the same details you used when you installed the slave.
Make sure Status is set to Active and Use HTTPS is set to Yes.
Enter at least one shared and public IP address. The IP addresses must be public IP addresses of the server. The same IP address can be used as both a shared and dedicated IP.
When you’re done, click Create to connect the slave to the master.

Creating a game server
The next and final step is to create a new server on the slave. Before doing so, you need to add at least one JAR file
for the slave. Each slave has its own set of JAR files that can be used by the servers hosted on that slave. To make
a JAR file available for servers, simply upload a .jar file to the /var/lib/gametron/slave/minecraft/jars directory
on the slave.
More information about JAR files can be found in the JAR Files documentation.
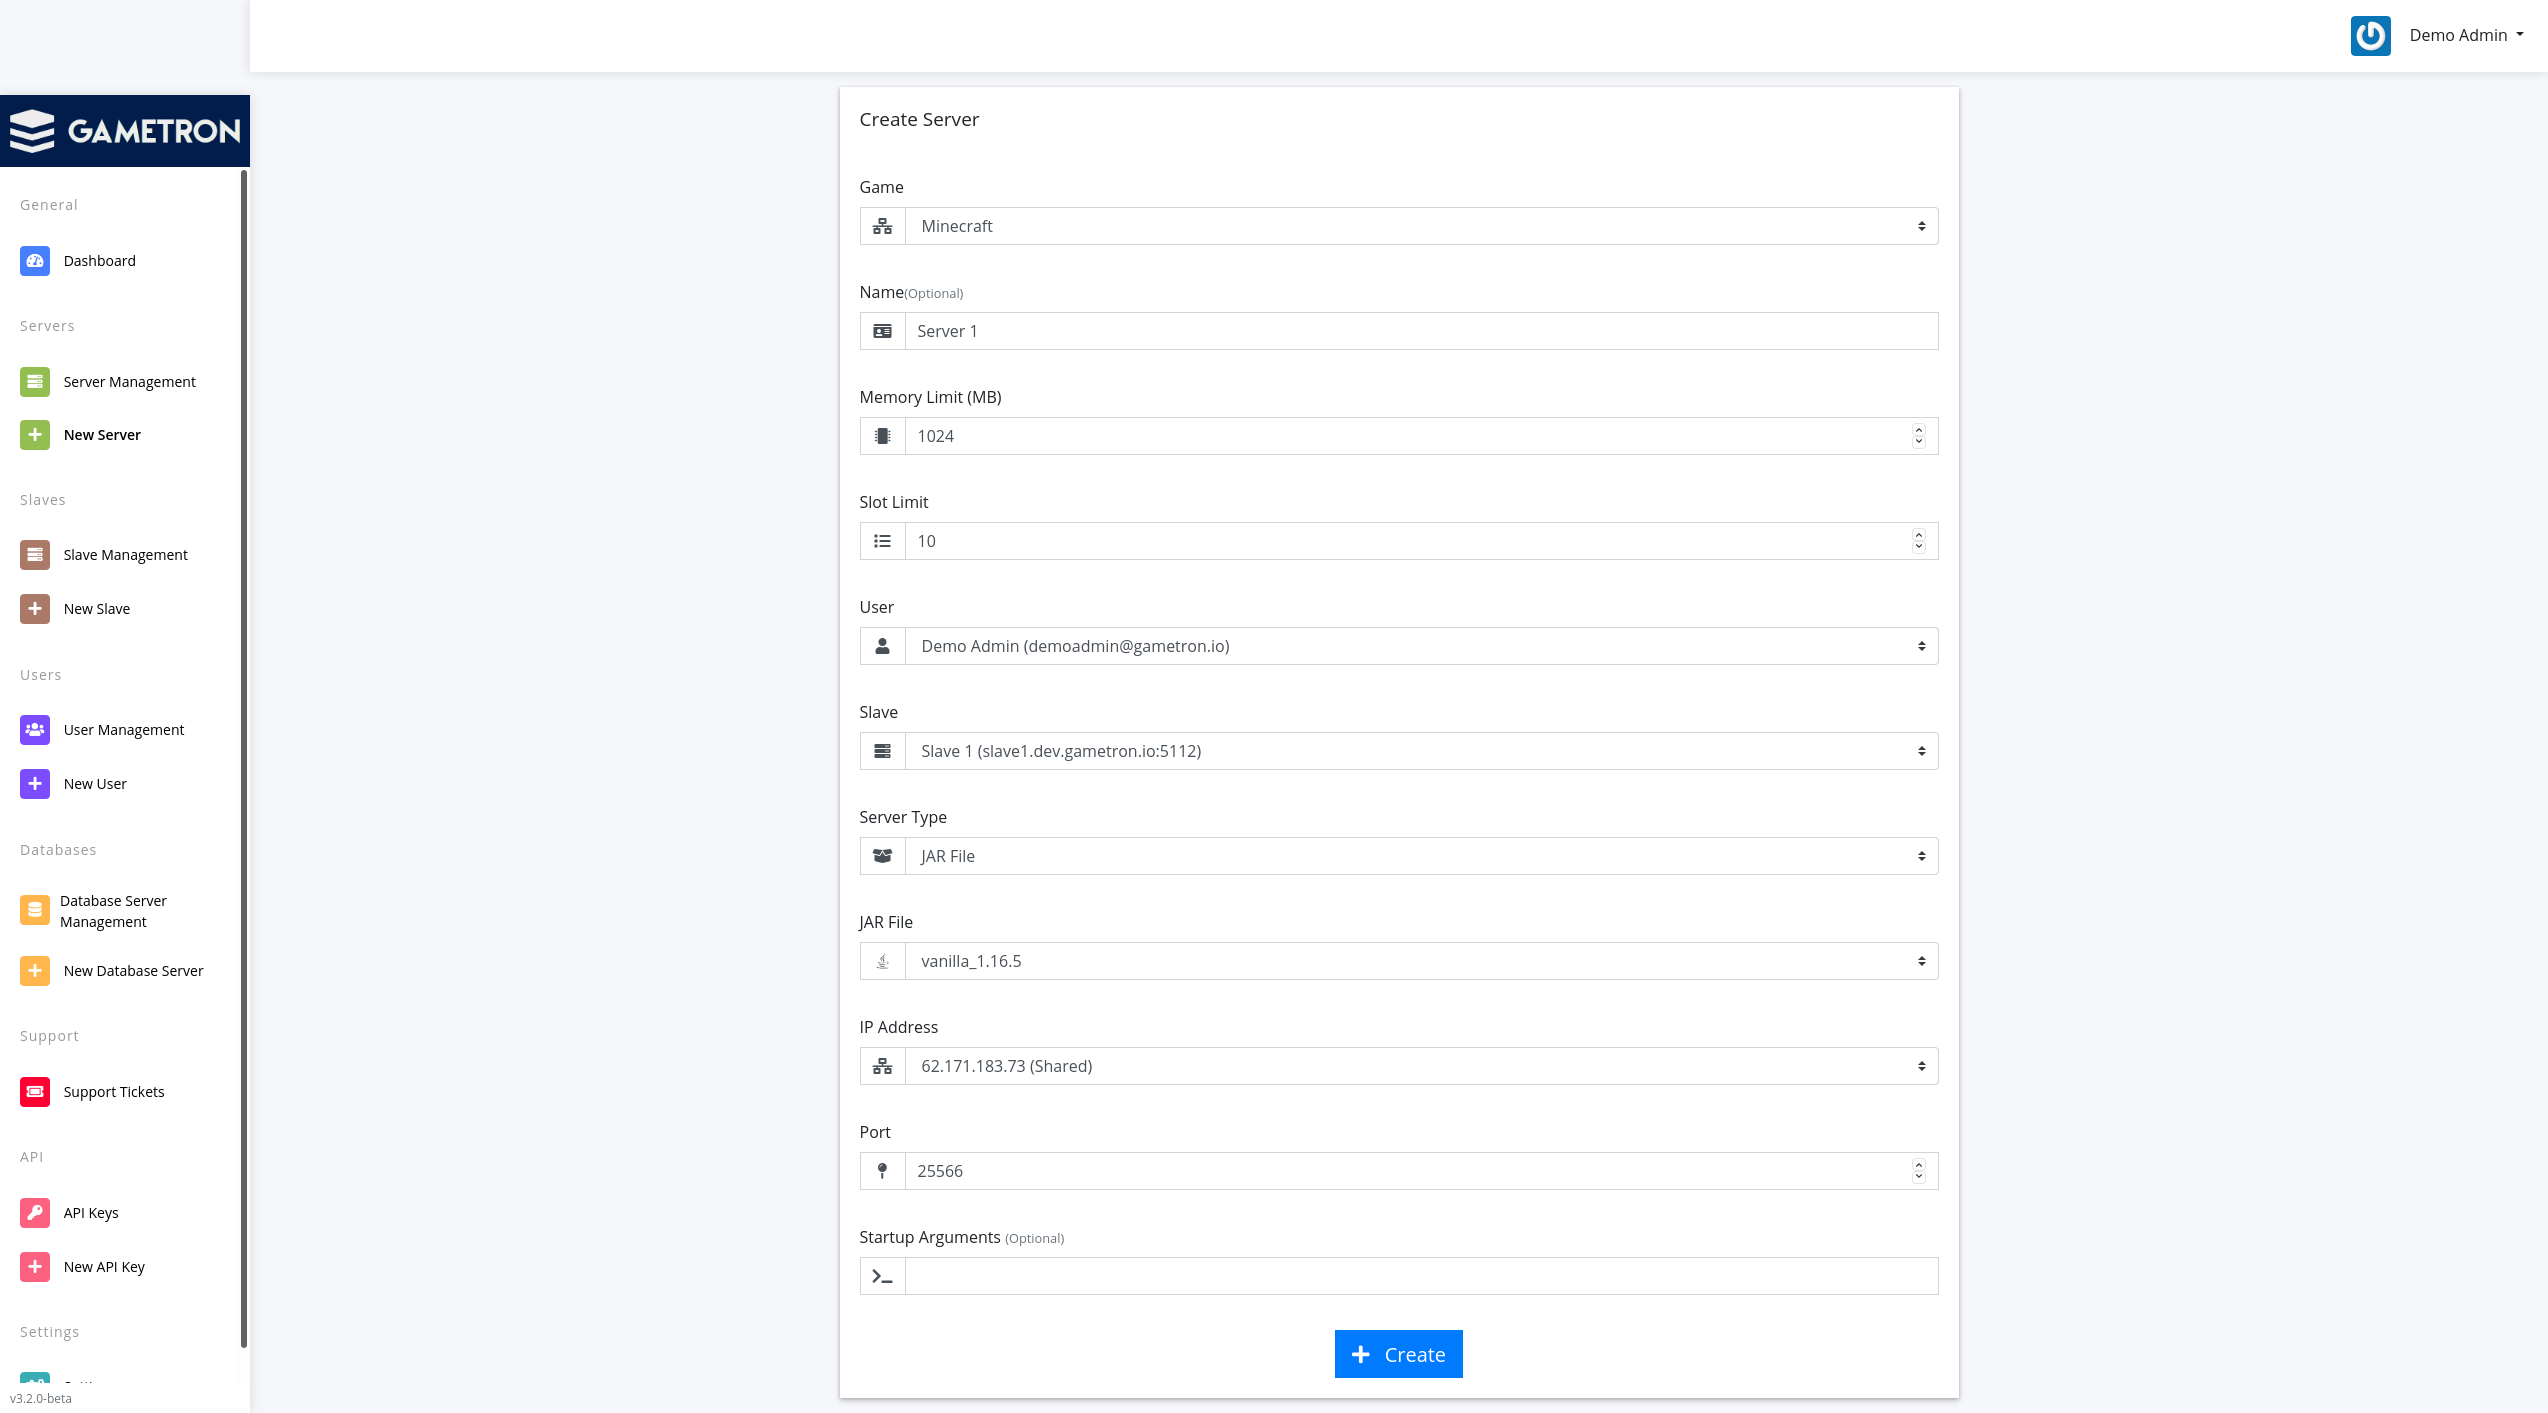
When you have uploaded at least one JAR file, go to the New Server page.
Configure the new server to your liking.
Make sure to set Server Type to JAR File and choose the JAR file you uploaded. The files in the JAR File list use the same names as files in the jars directory, without the .jar extension. For example, if you upload a file vanilla_1.16.5.jar, it will show up as vanilla_1.16.5 in the list.
When you’re done, click Create.
If the server is not created successfully, have a look at the instructions below.
You will be taken to the server management page. Click Start Server to start the server.
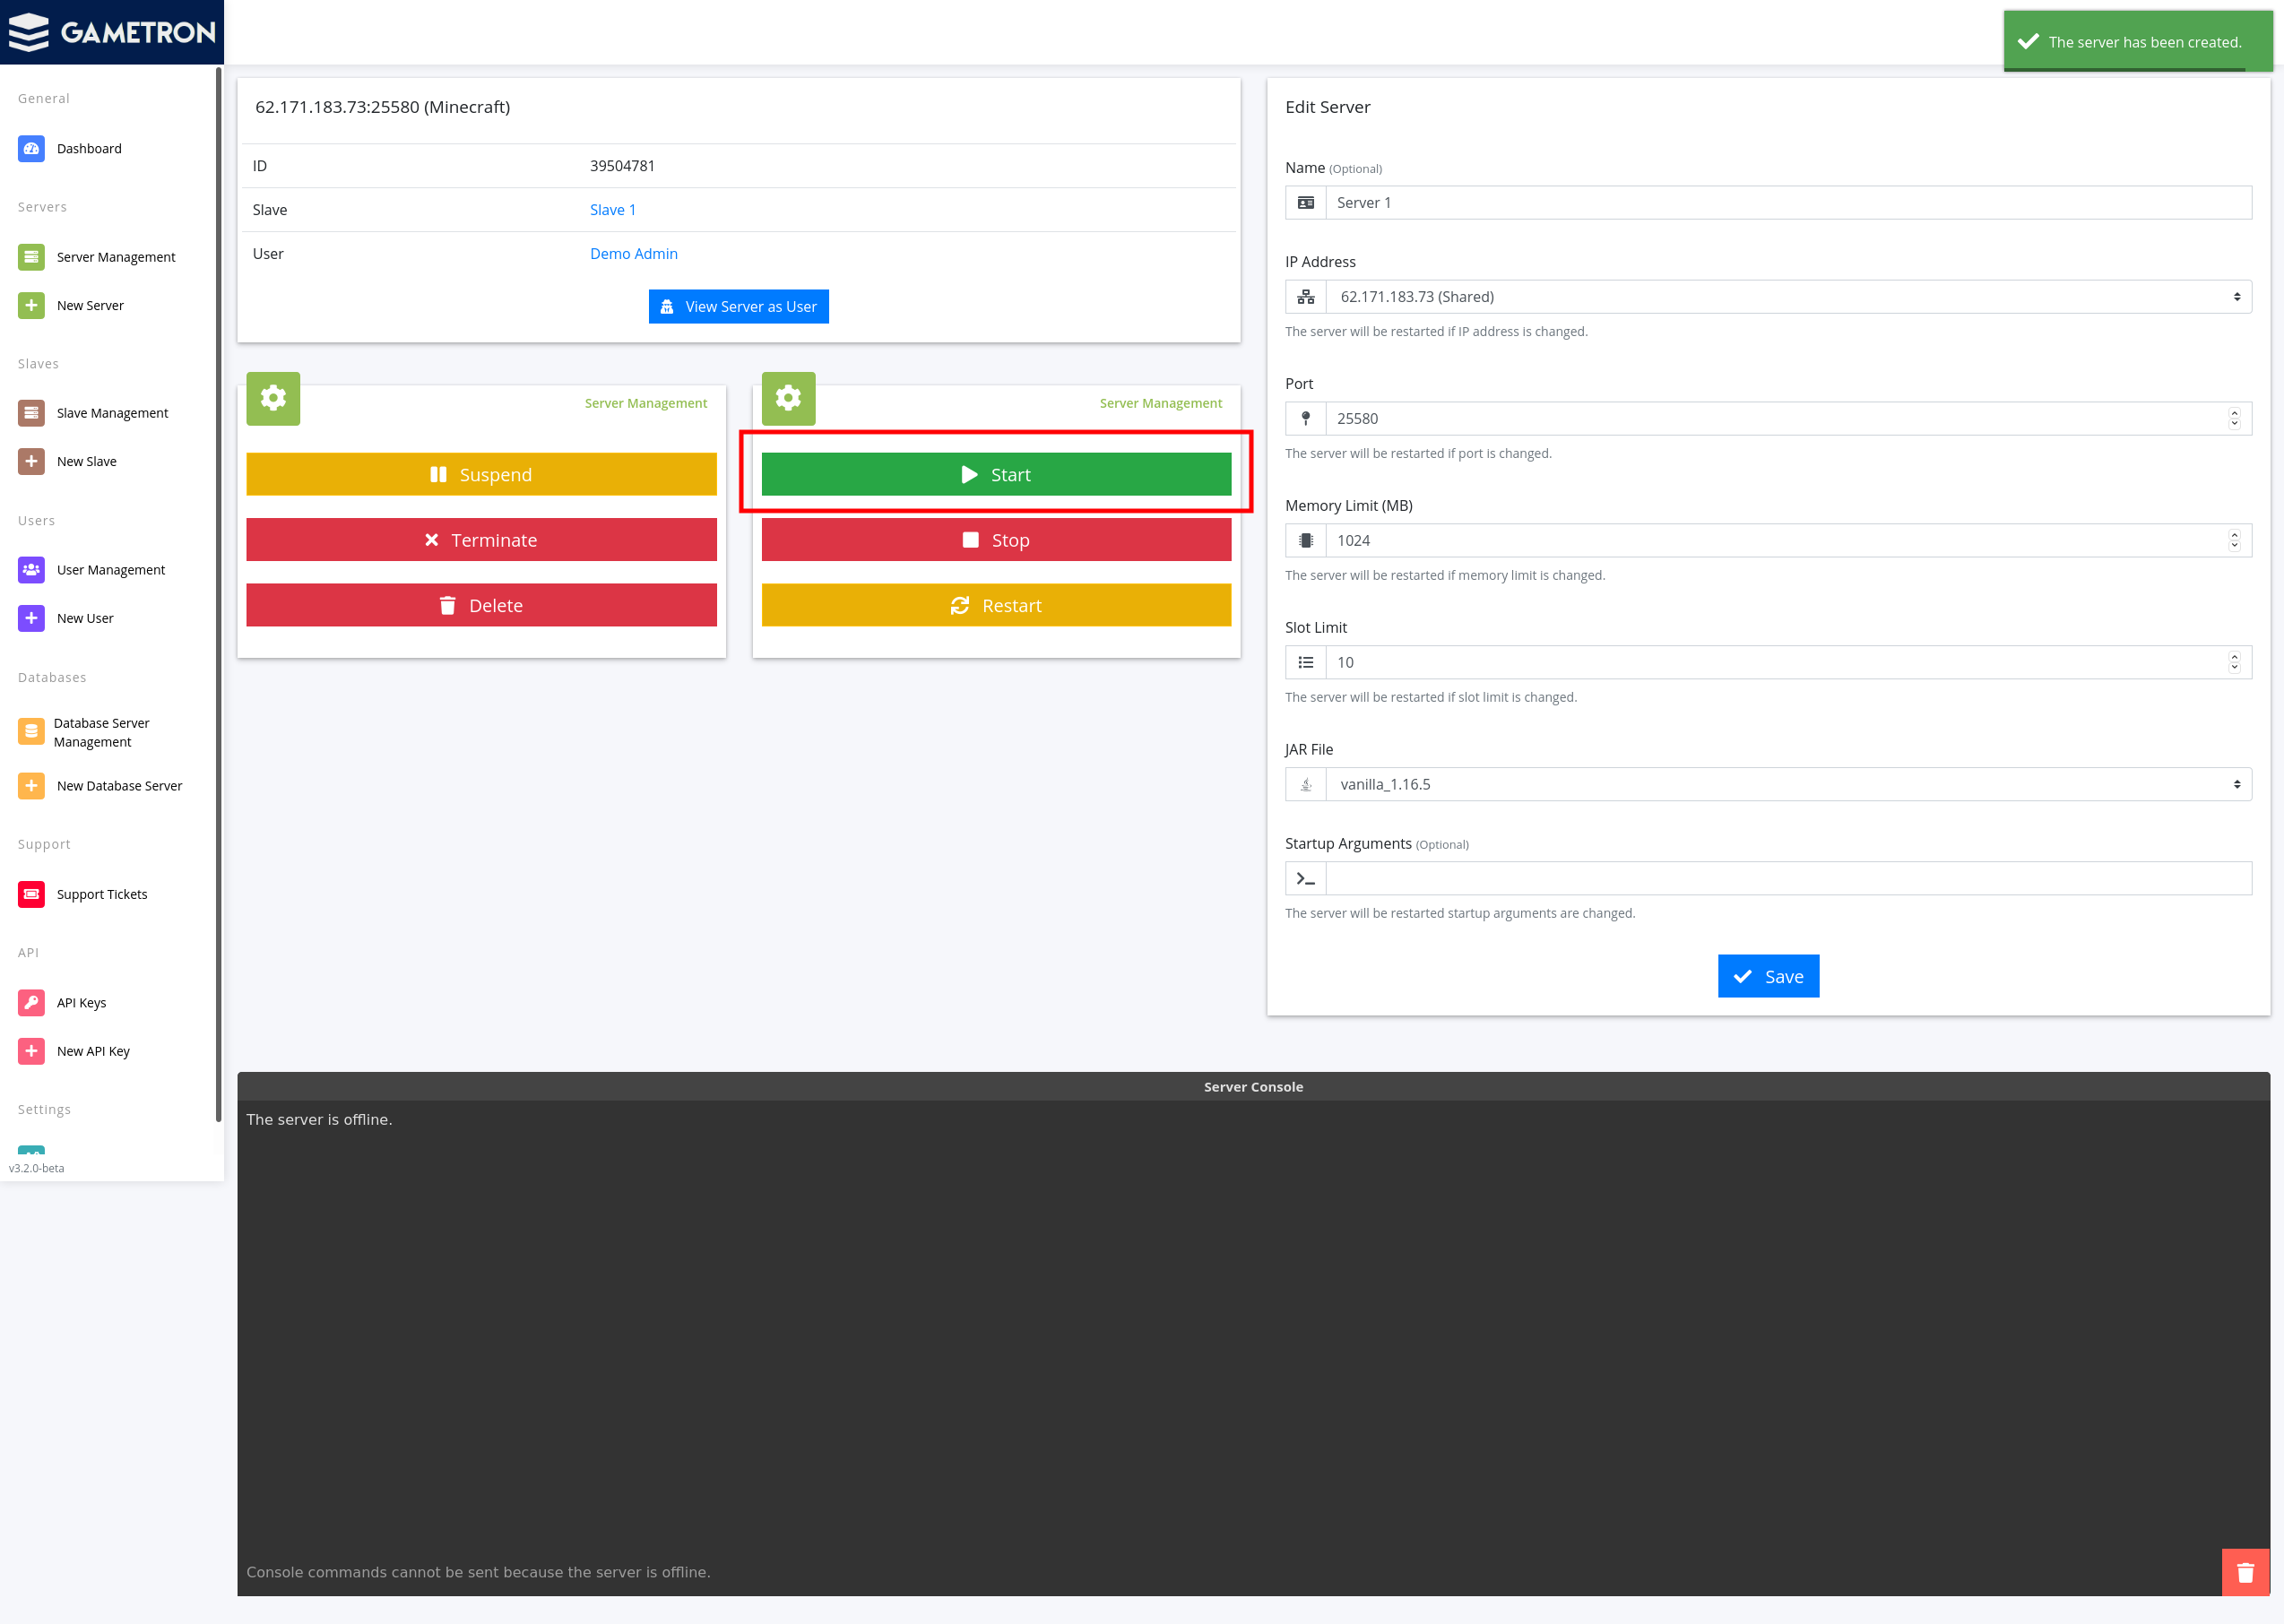
Since this is your first time starting the server, you must agree to the Minecraft EULA before the server can be started. You can agree to it by clicking the Agree button.

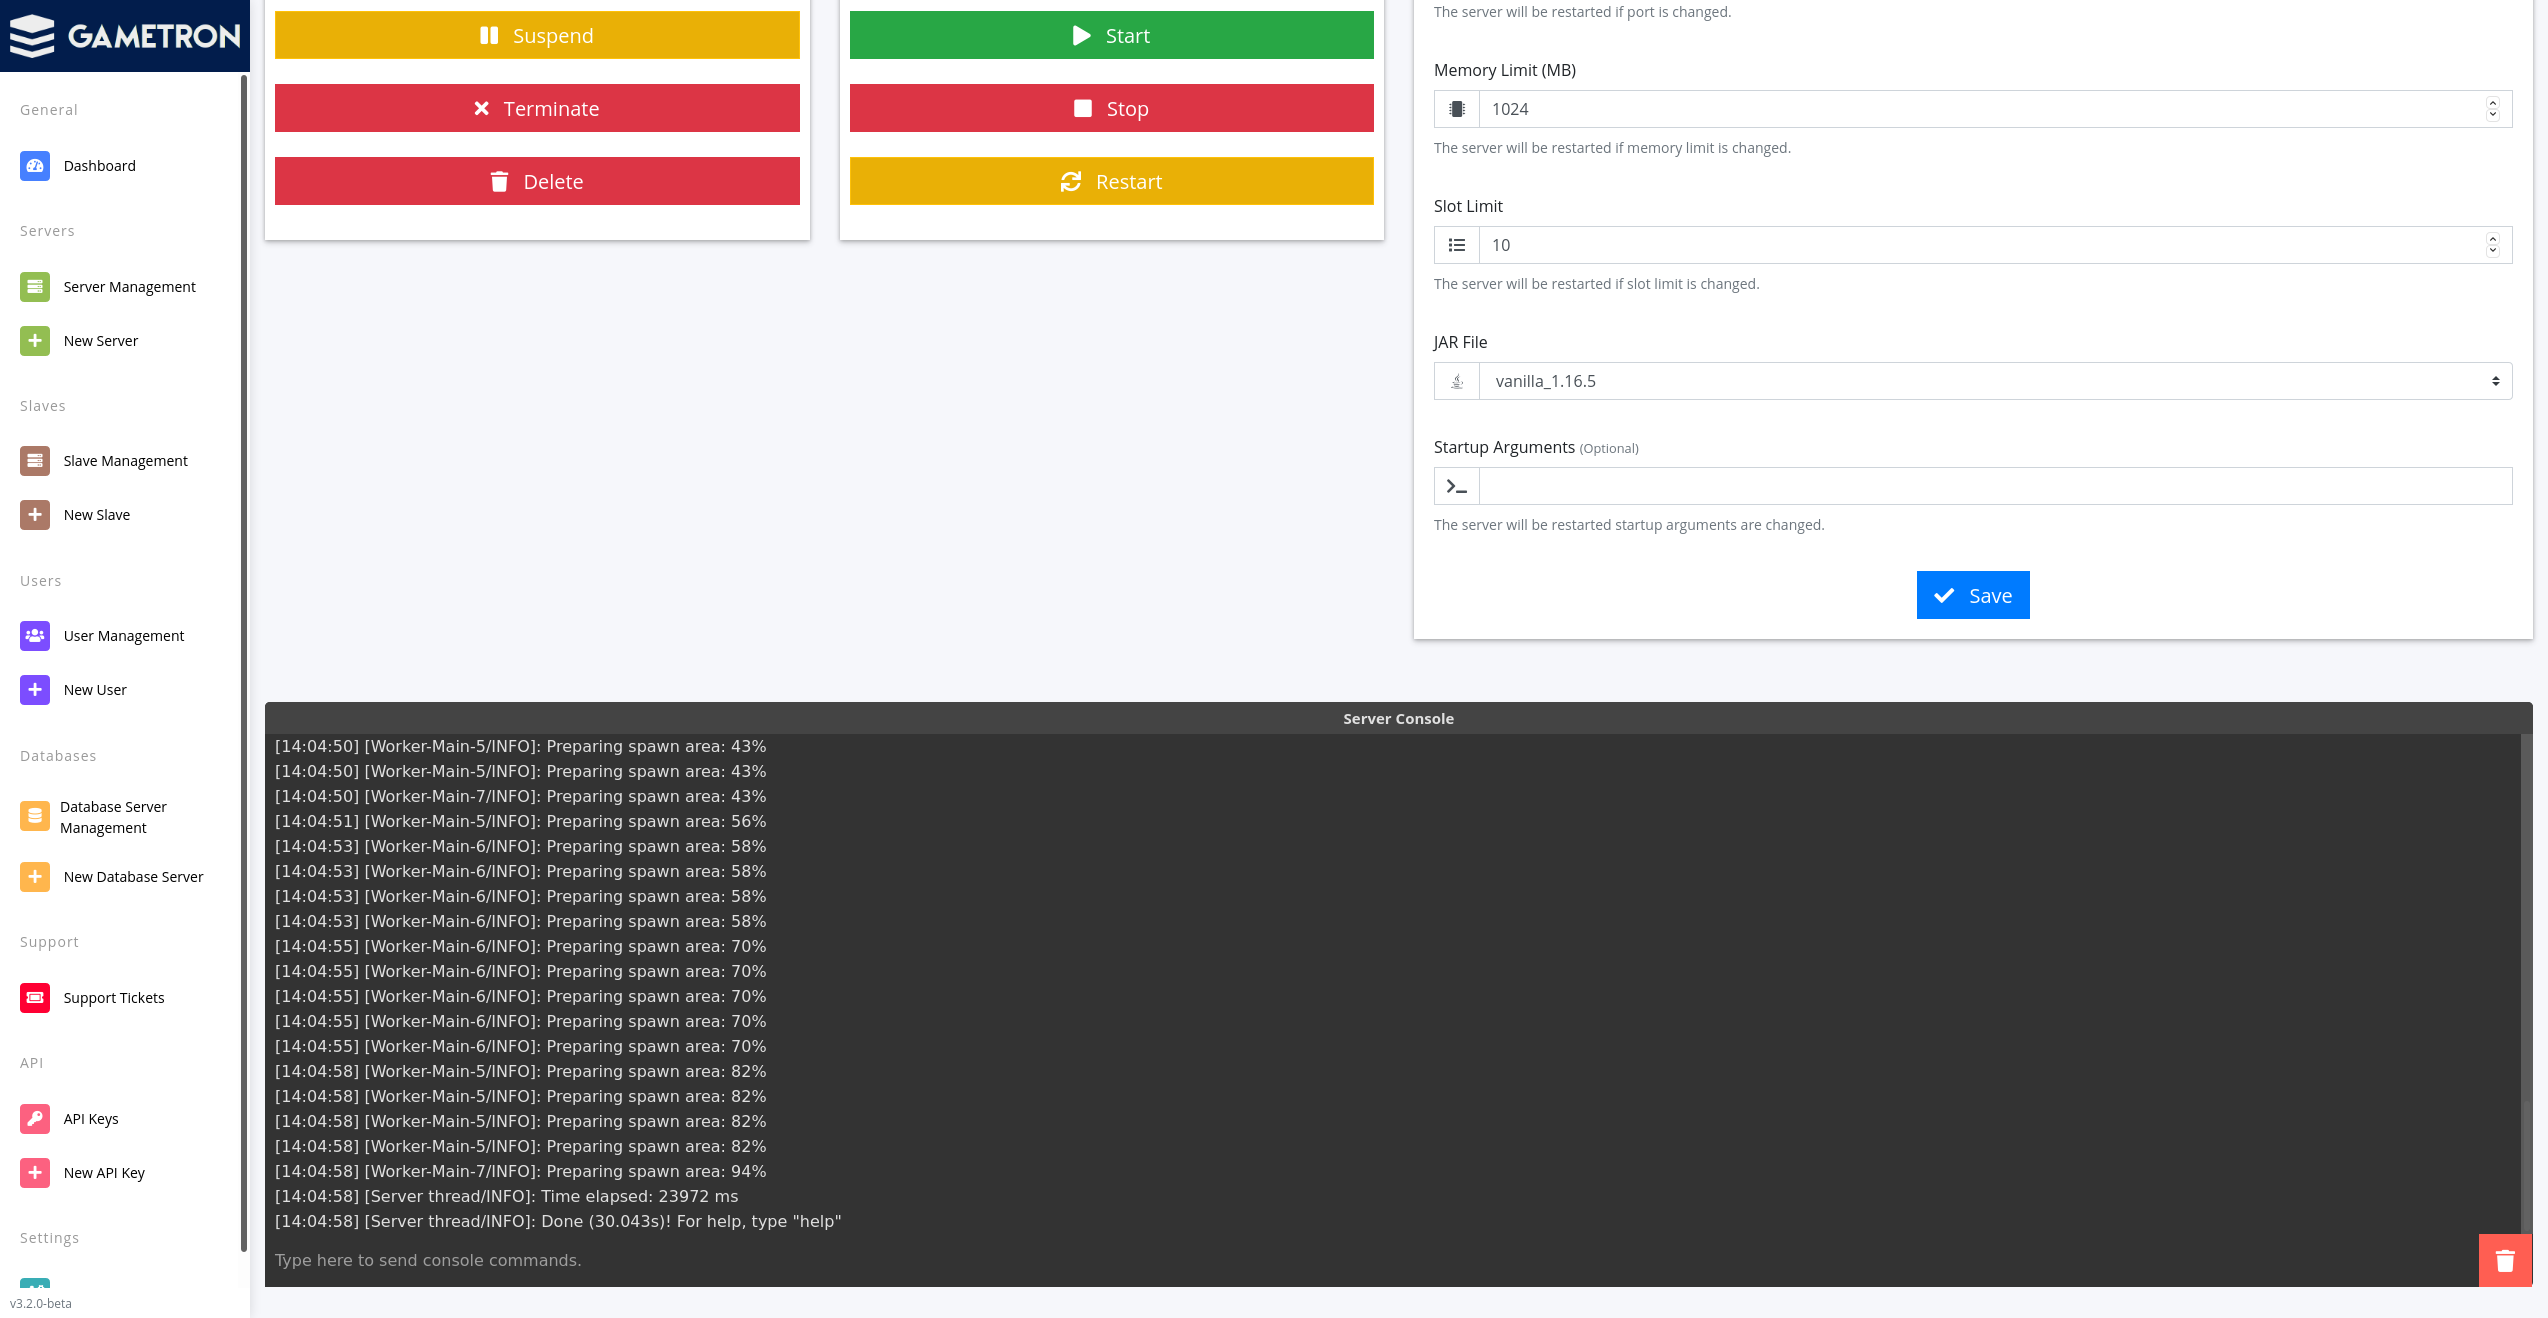
After a moment, you should start seeing output in the server console. When you see “Done” at the bottom, the server is up and running.
You now have your first server running with Gametron. You’ve made it to the end of this guide, but you may want to have a look around this documentation to familiarize yourself with how Gametron works.
You should at least check out the following pages: